industry-core-hub
Submodel Creator Guide
Status: Draft Type: Documentation
Overview
- Purpose: Explain how to create a Submodel (e.g., DPP – Digital Product Passport) for a Catalog Part using the Submodel Creator.
- Audience: Frontend users/operators configuring submodels based on a schema.
- Outcome: A validated JSON is created and published as a submodel for the selected Catalog Part.
Prerequisites
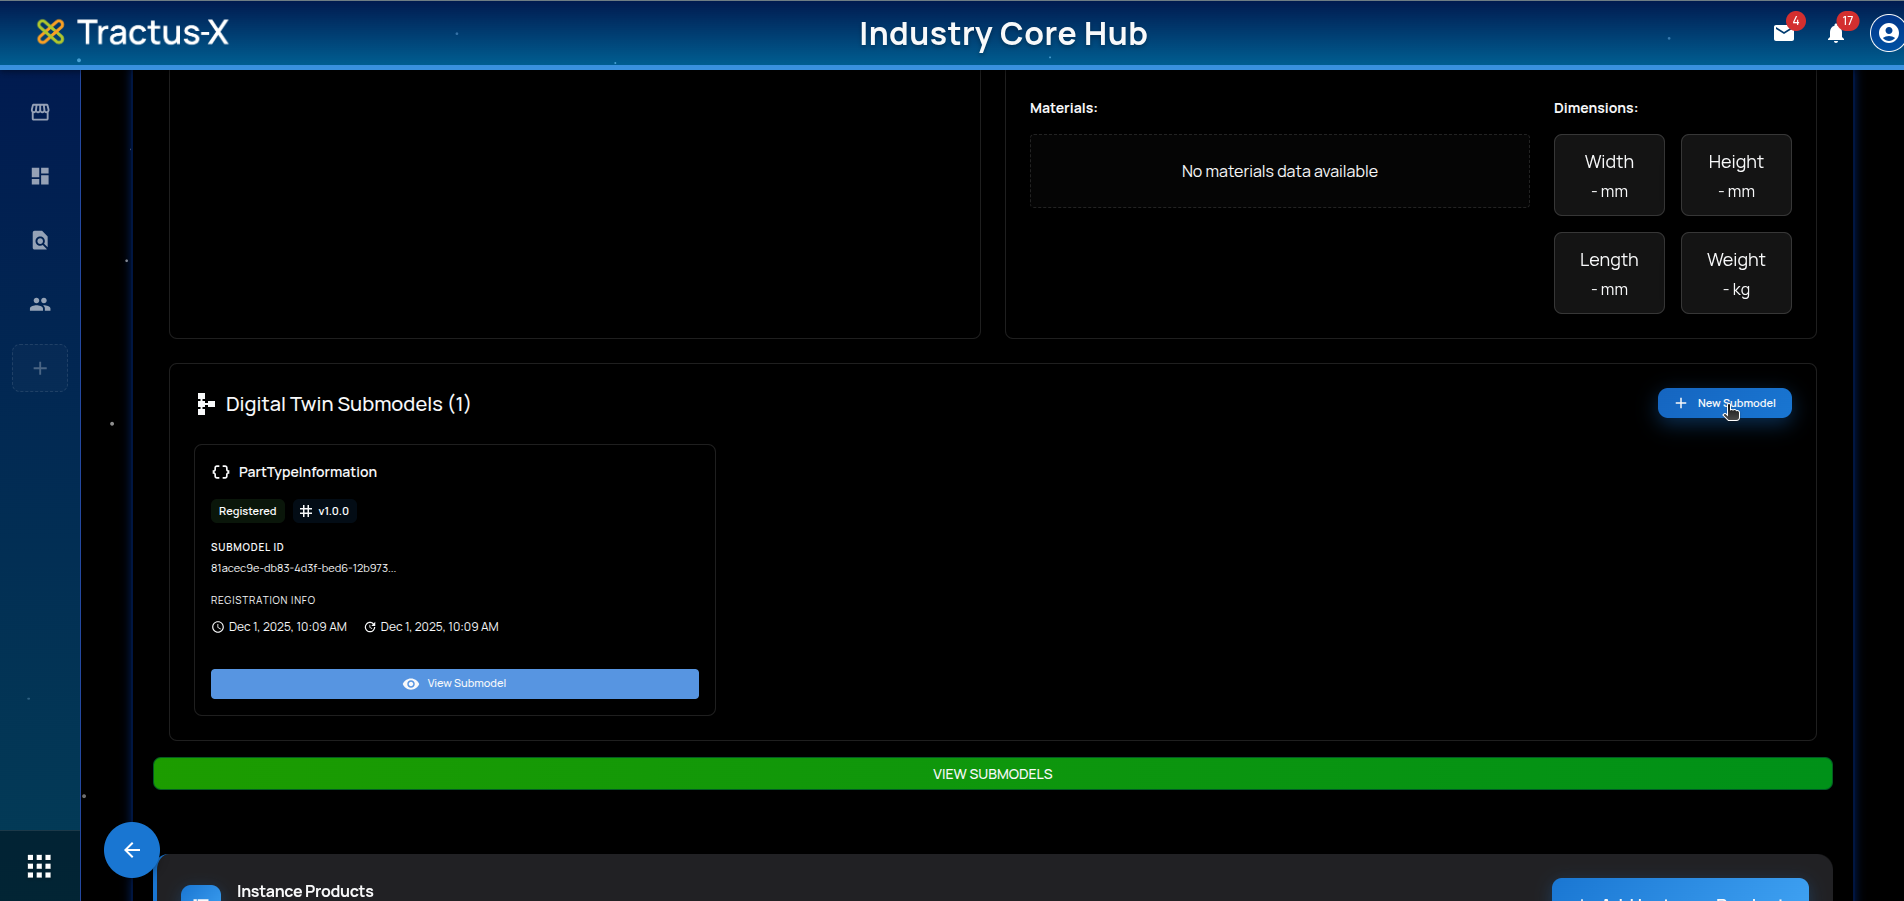
- Registered Part: The Catalog Part must already have at least one registered submodel for the “+ New Submodel” button to appear.
- Selected Schema: Know which schema you want to use (e.g., DPP). The creator interprets the schema to build a dynamic form.
Start a New Submodel
- Navigate to the Catalog Part details page.
- Click
+ New Submodelto launch the creator workflow.
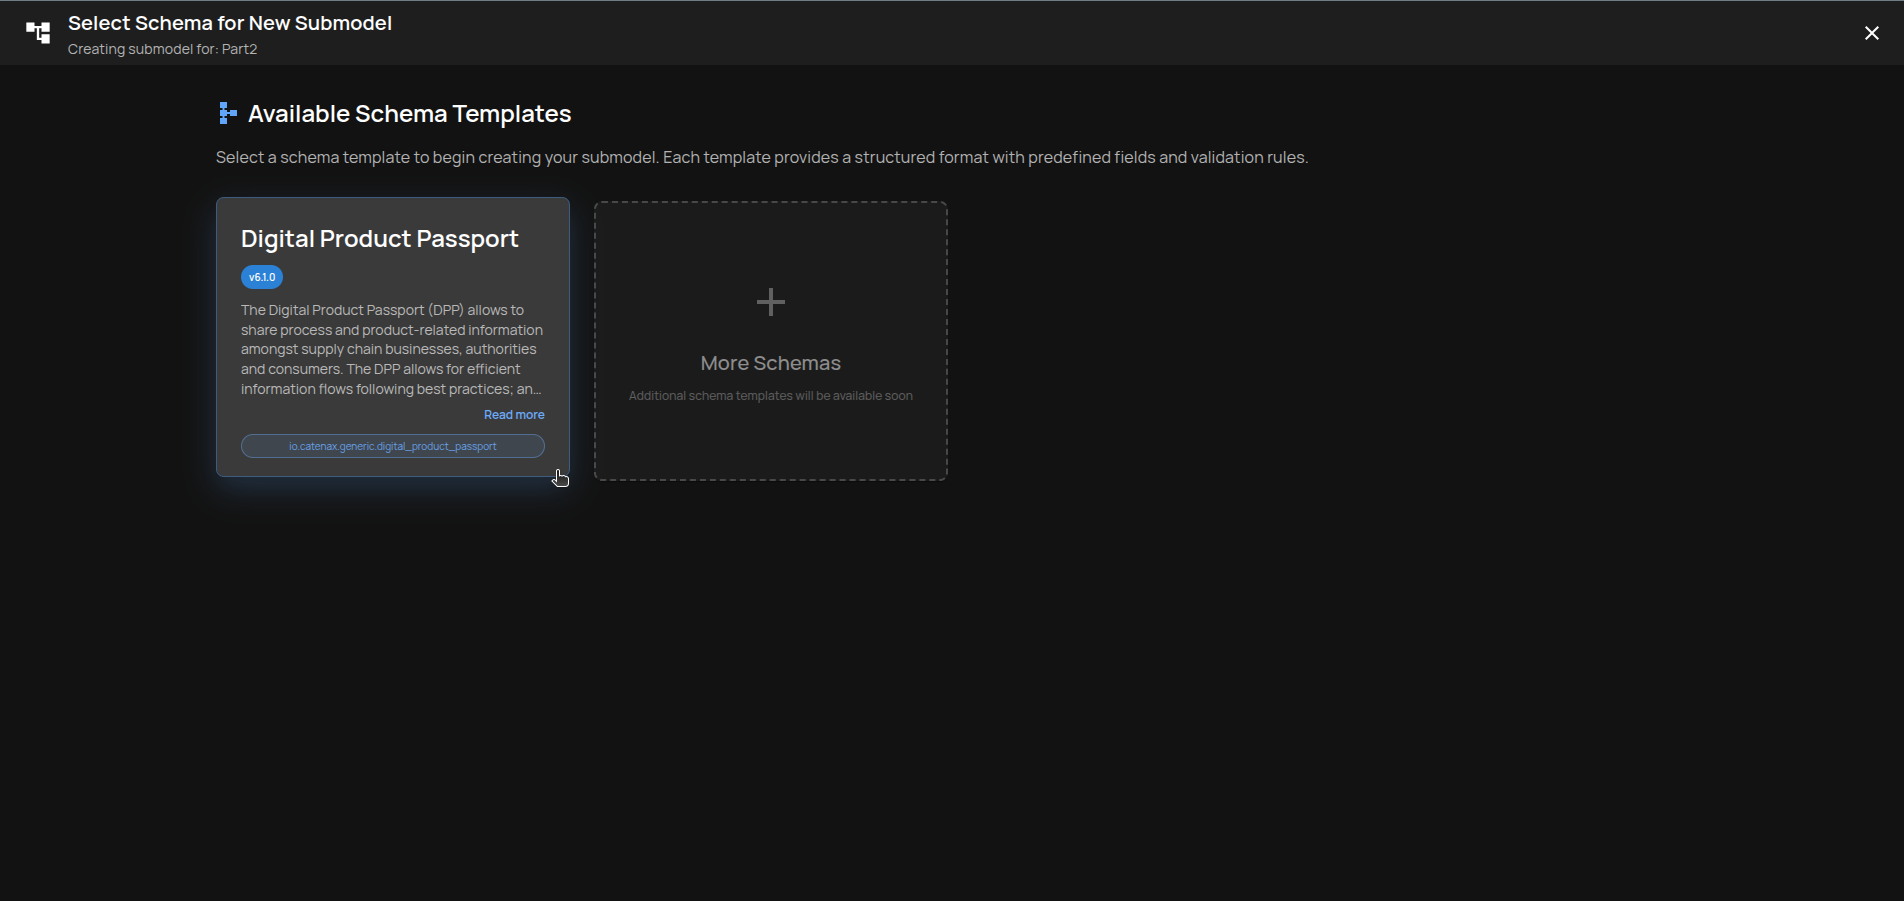
Choose Target Schema
- Select the card for the desired Submodel Schema (e.g., DPP). The card shows a short description and the namespace.
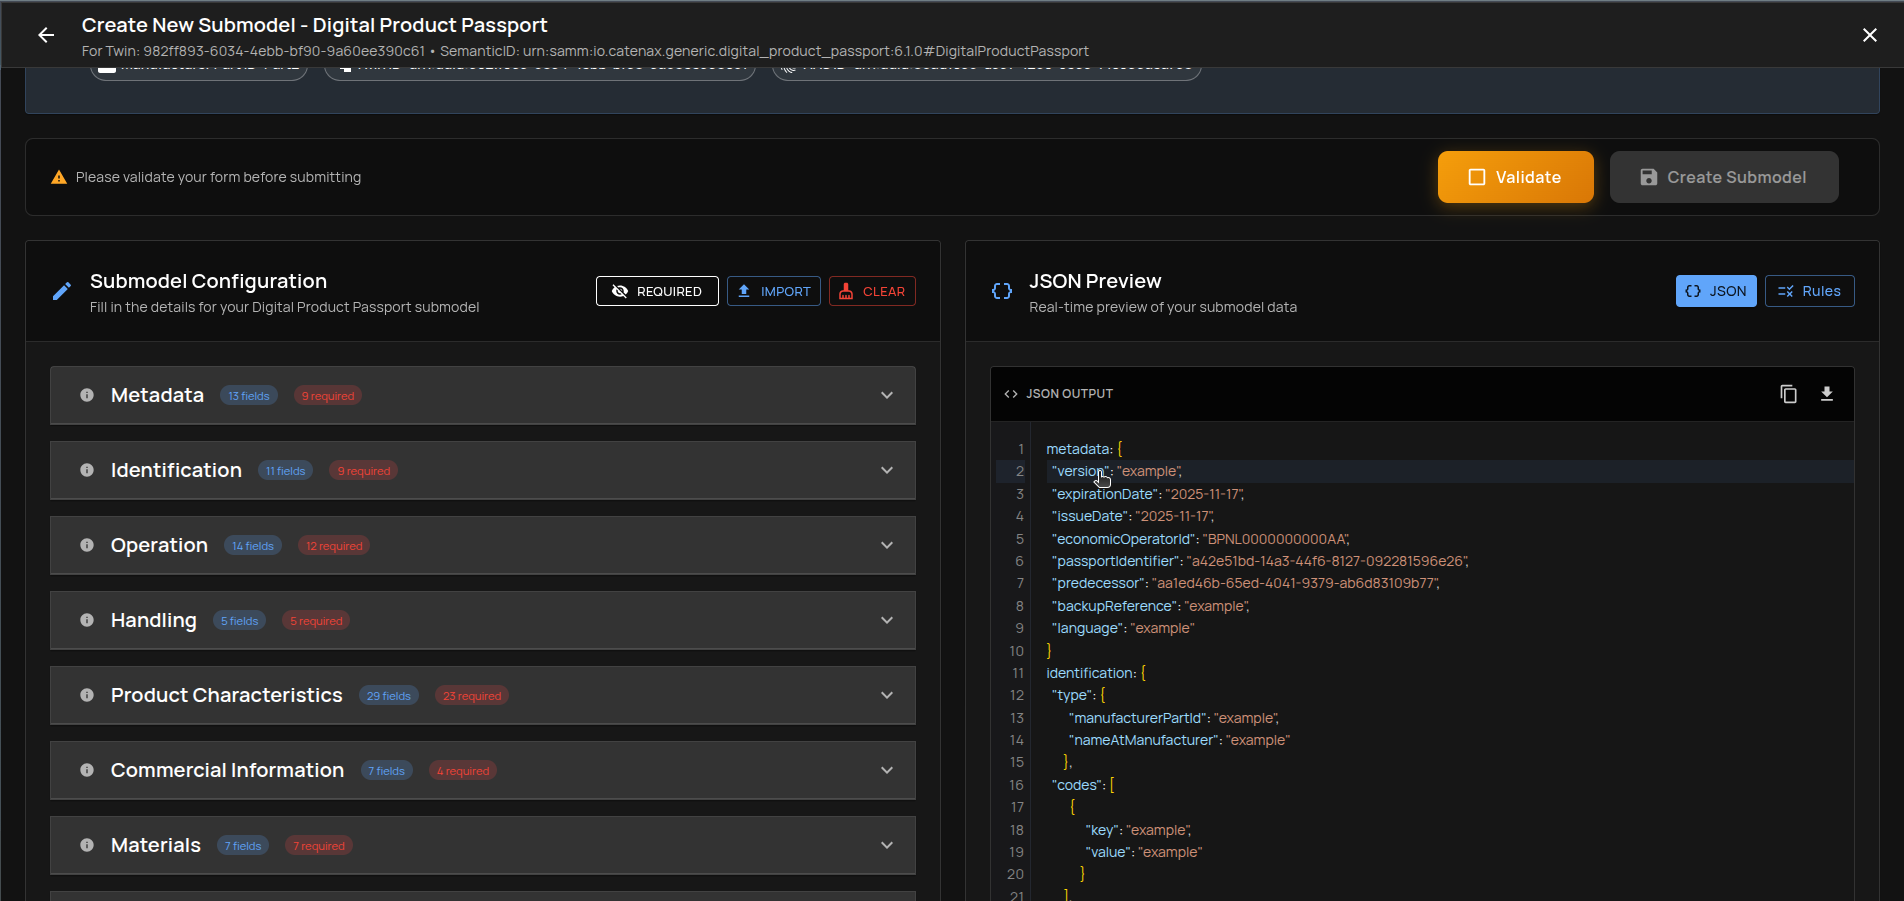
Submodel Creator Layout
When the creator opens, you’ll see:

- Header & Context: Shows target product and contextual metadata. Some items are interactive.
- Floating Status Bar: Displays JSON status, a
Validateaction, and revealsCreate Submodelonce JSON is valid. - Left Panel – Submodel Configuration: Dynamic form generated from the selected schema. You can filter required fields, import existing JSON, and clear the form.
- Right Panel – JSON & Rules: Live JSON preview, validation errors list, and Schema Rules explorer.
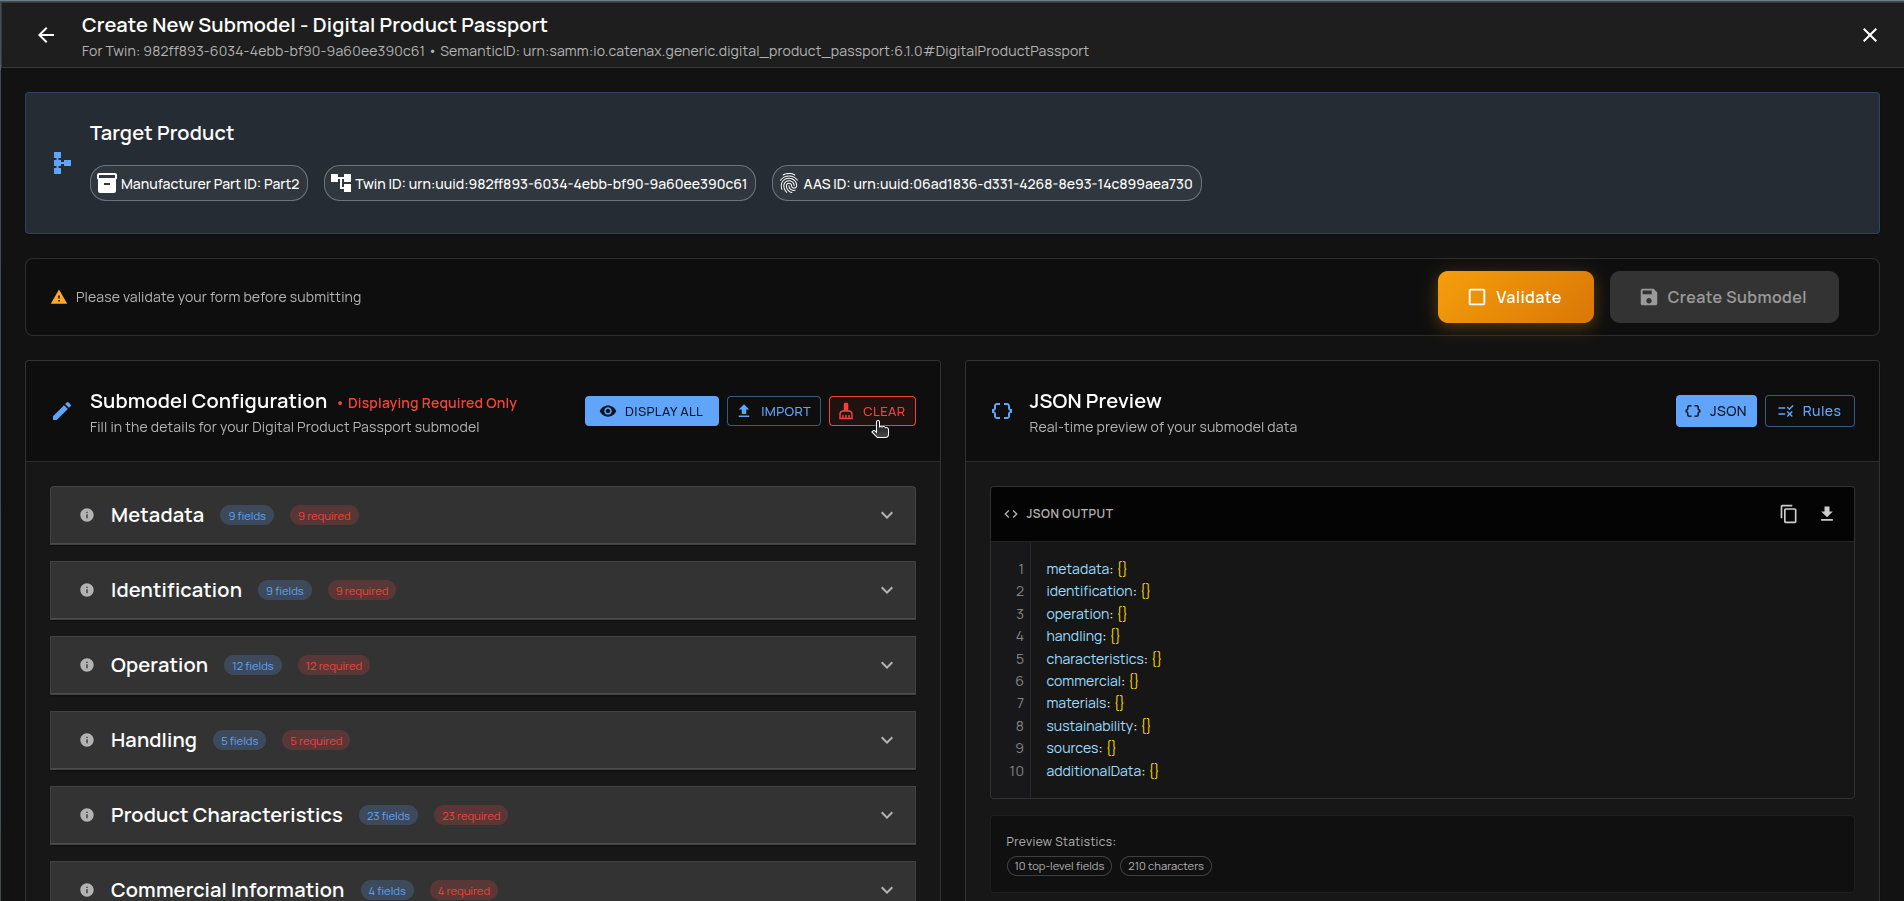
Left Panel: Submodel Configuration
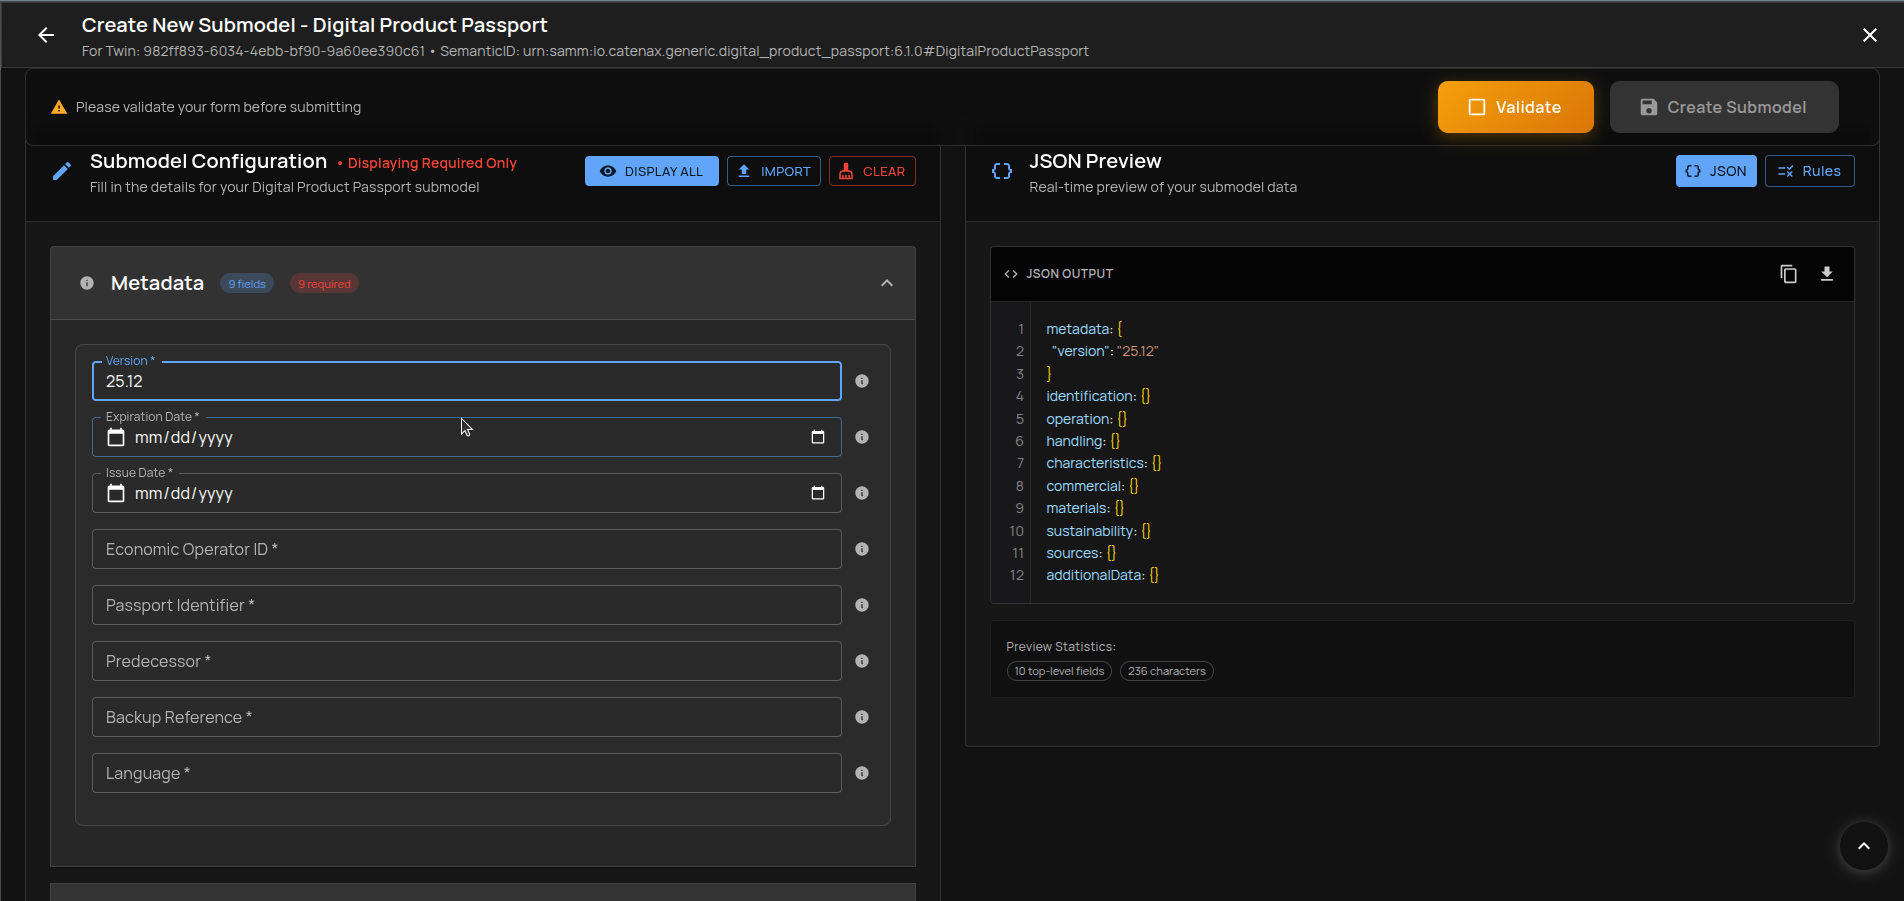
- Only Required filter: Toggle to show just required fields to speed up data entry.


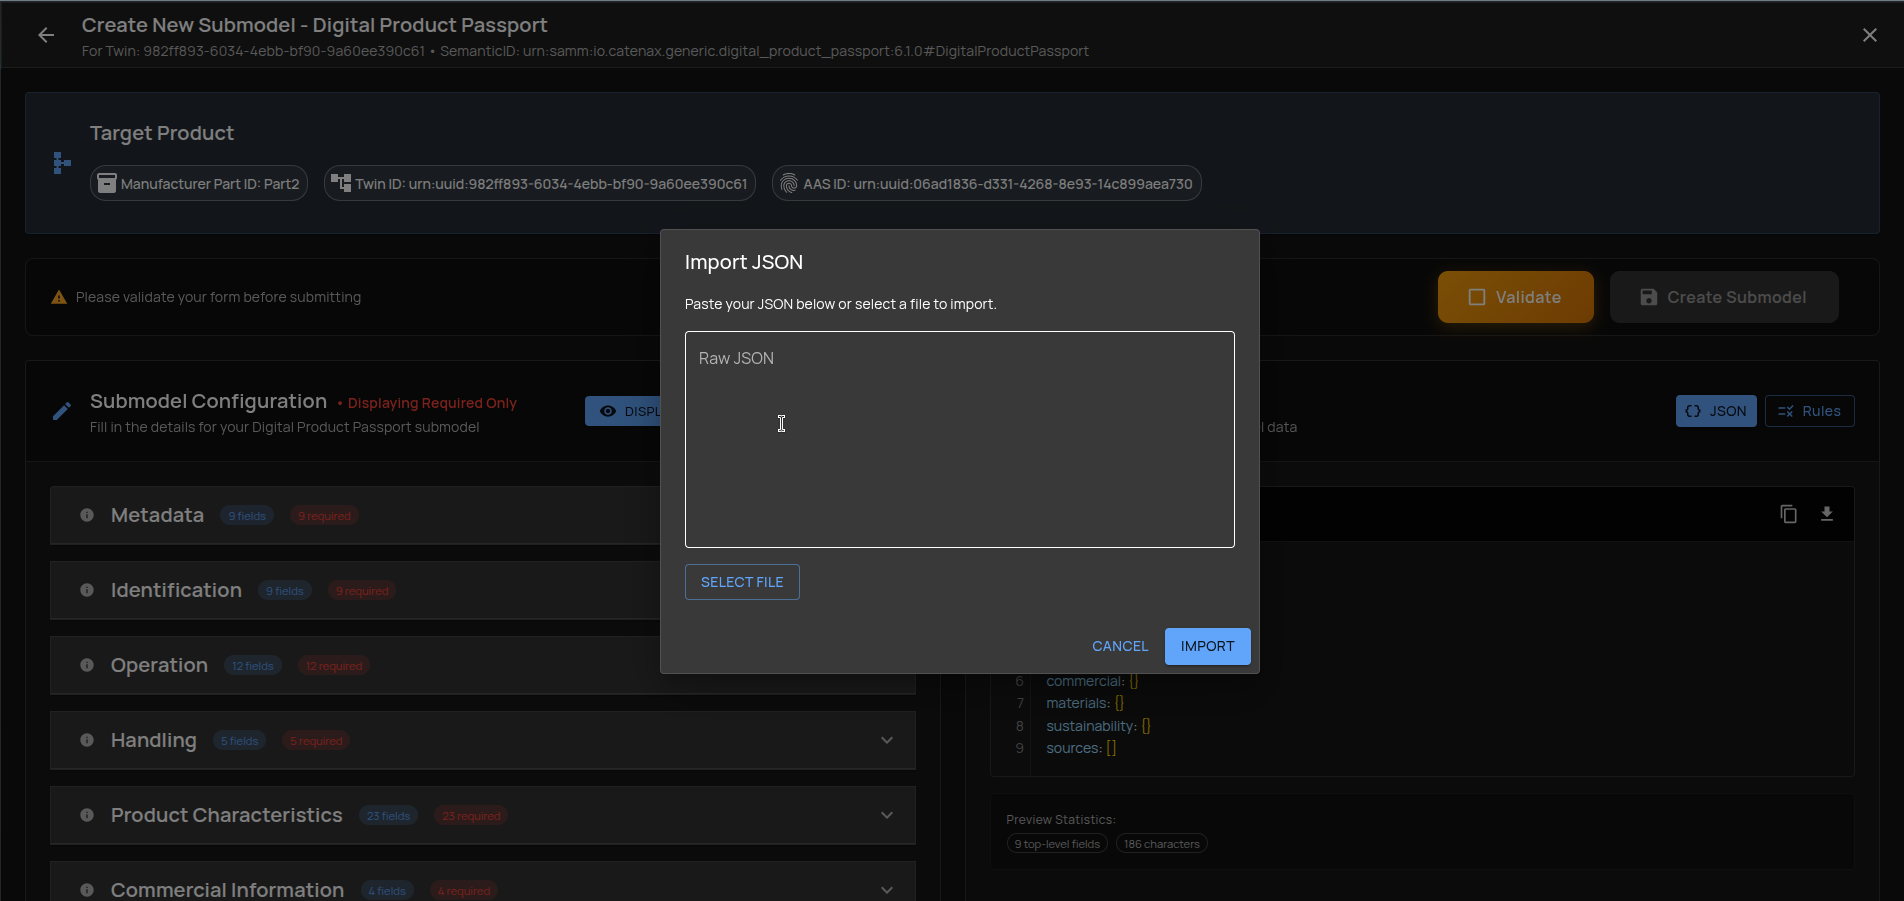
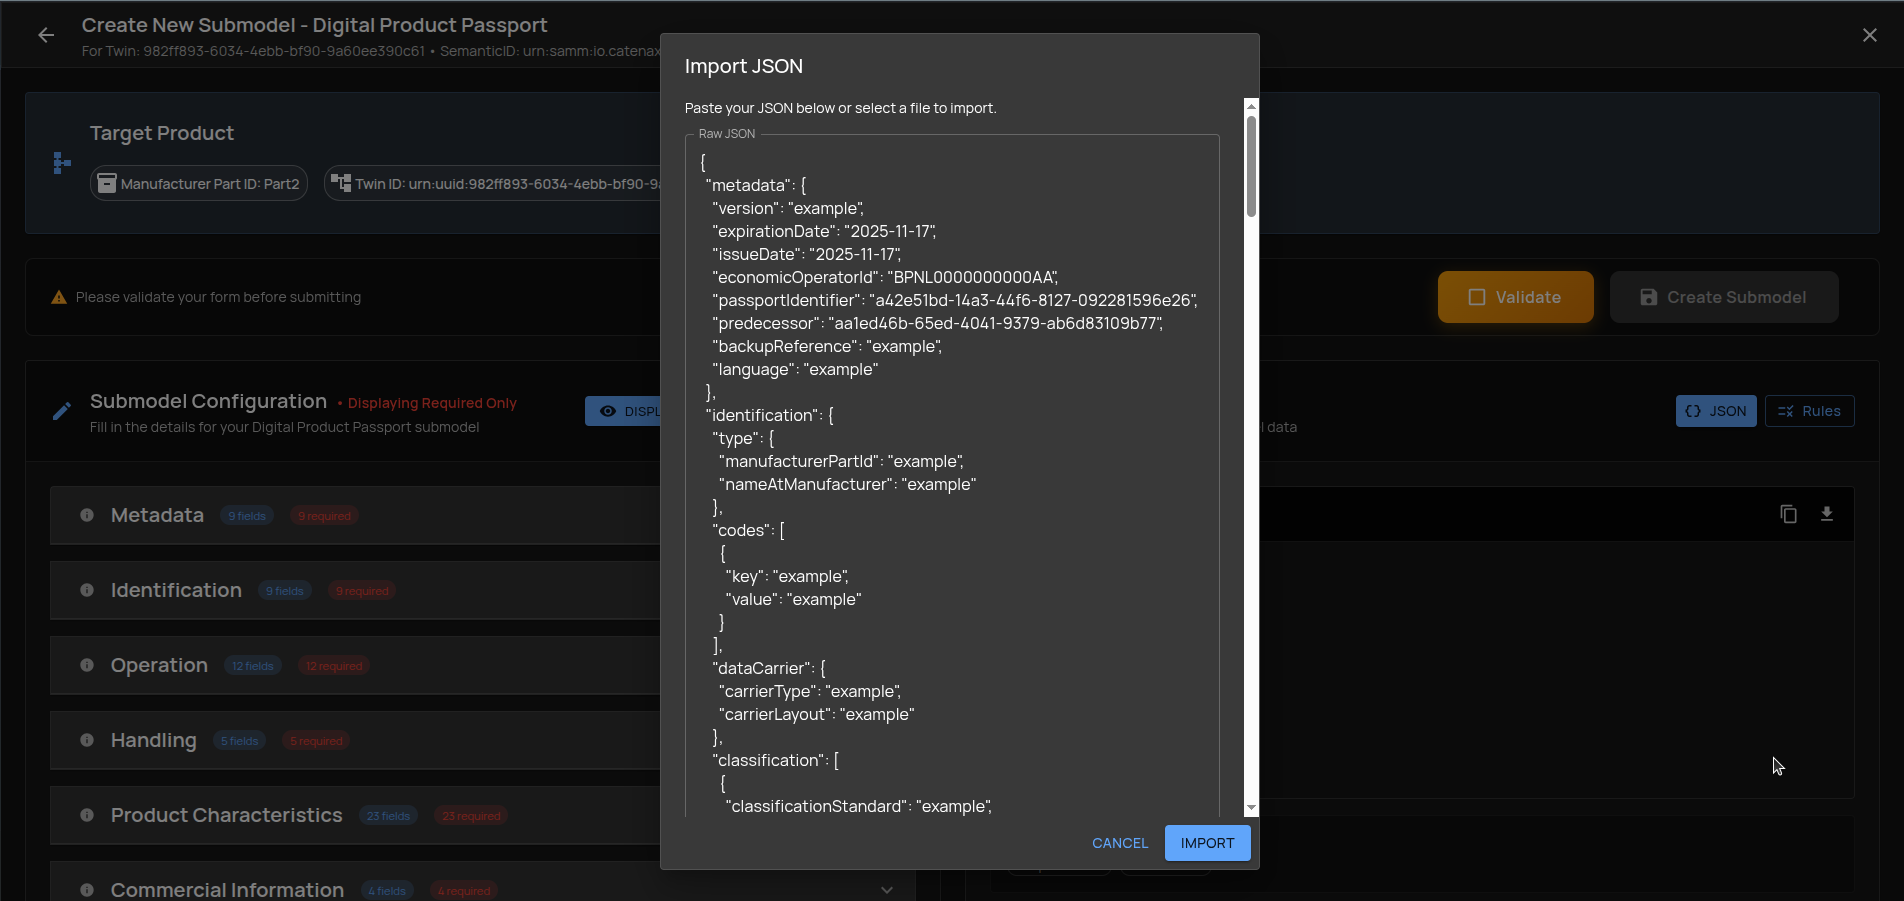
- Import JSON: Paste raw JSON or load from a file to prefill the form.

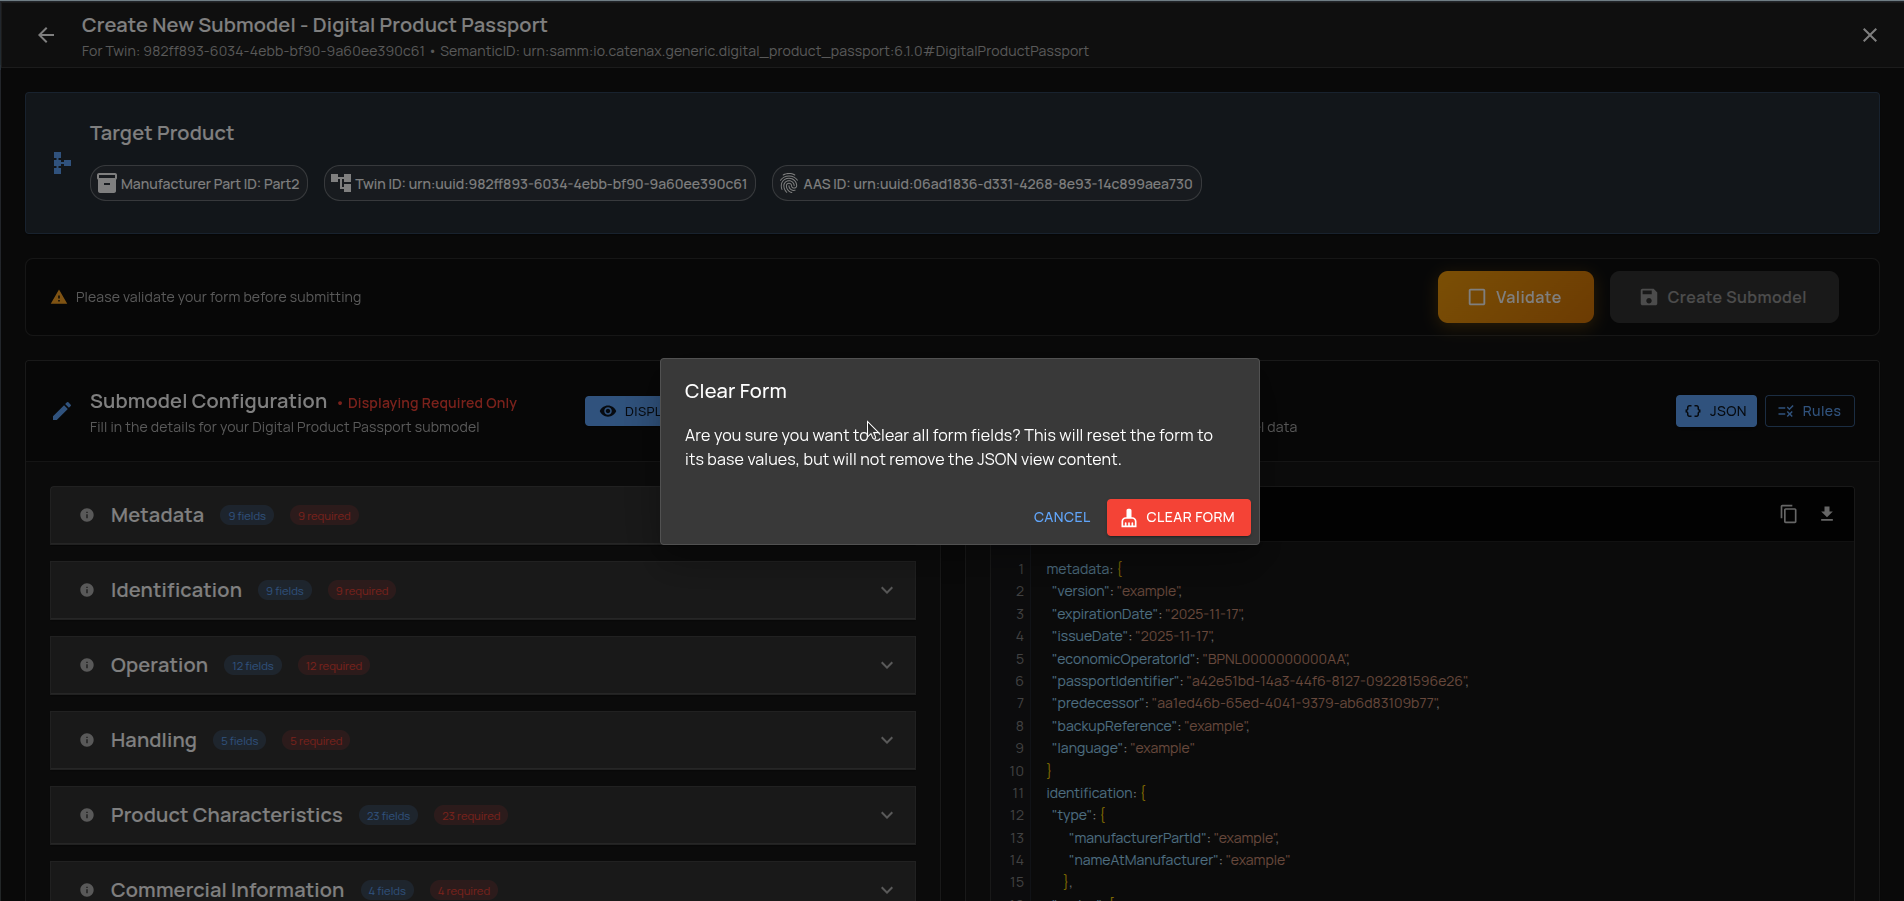
- Clear Form: Reset all form inputs.
Right Panel: JSON Preview, Errors, and Rules
- Tooltips & Field Info: Hover the info icon to see field description and URN. Clicking it navigates to the related Schema Rules.
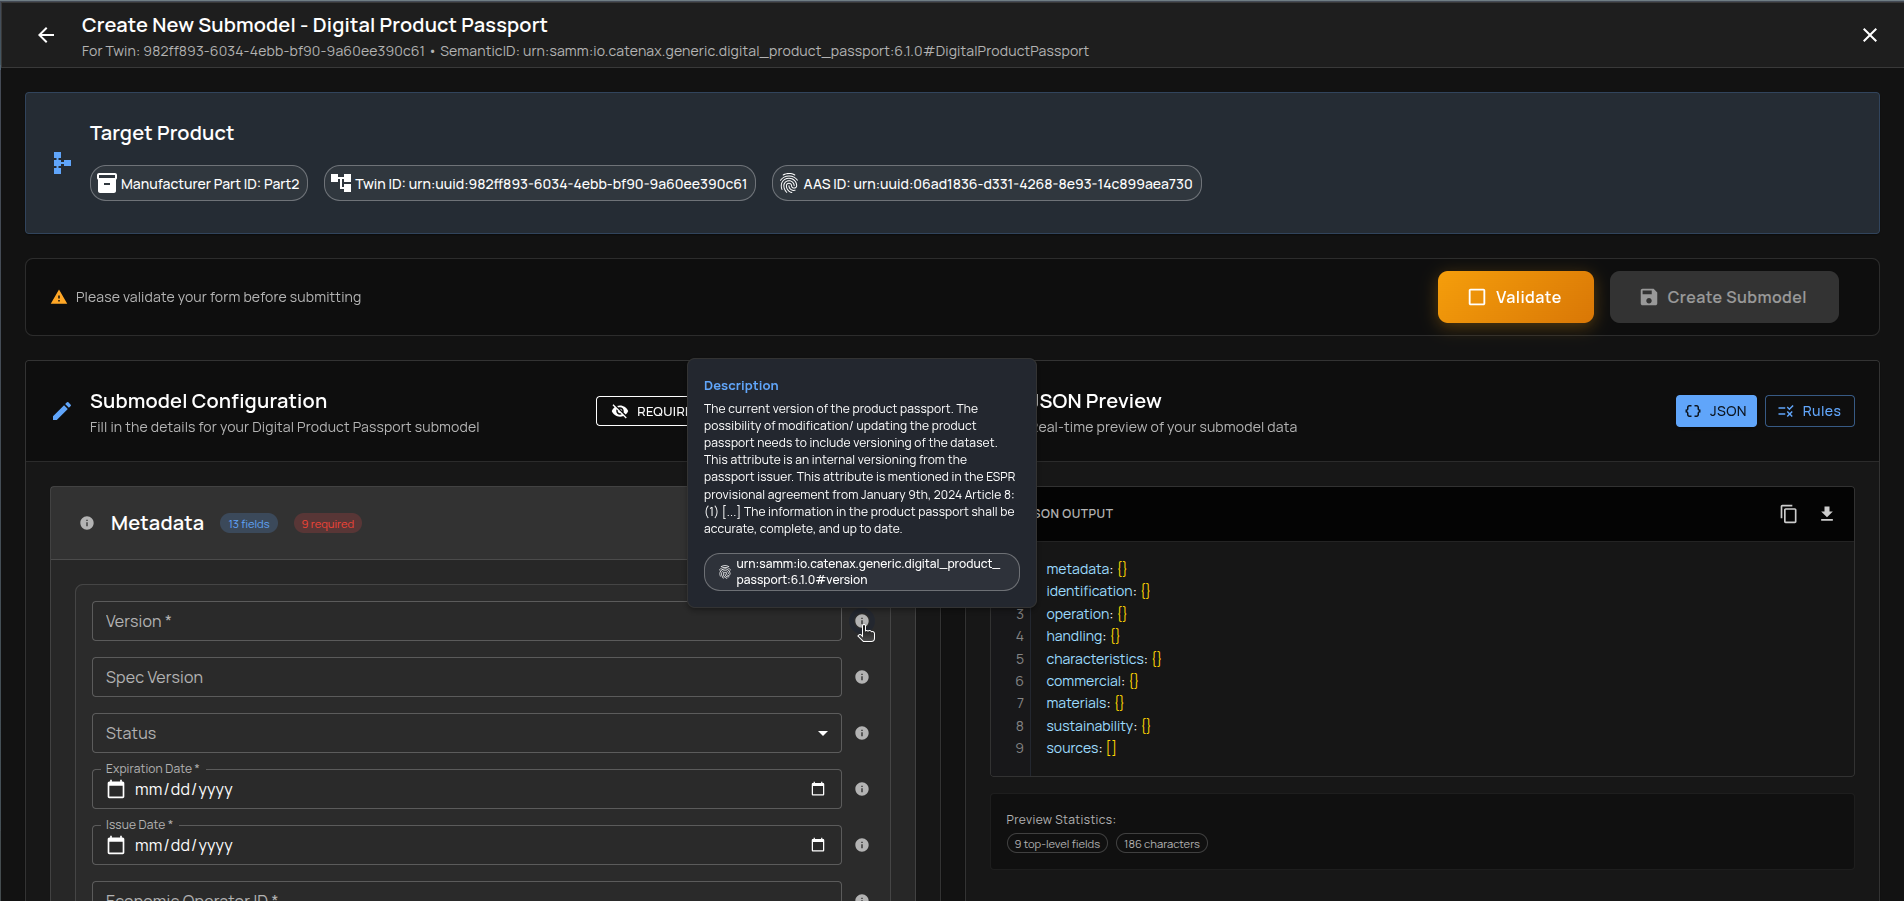
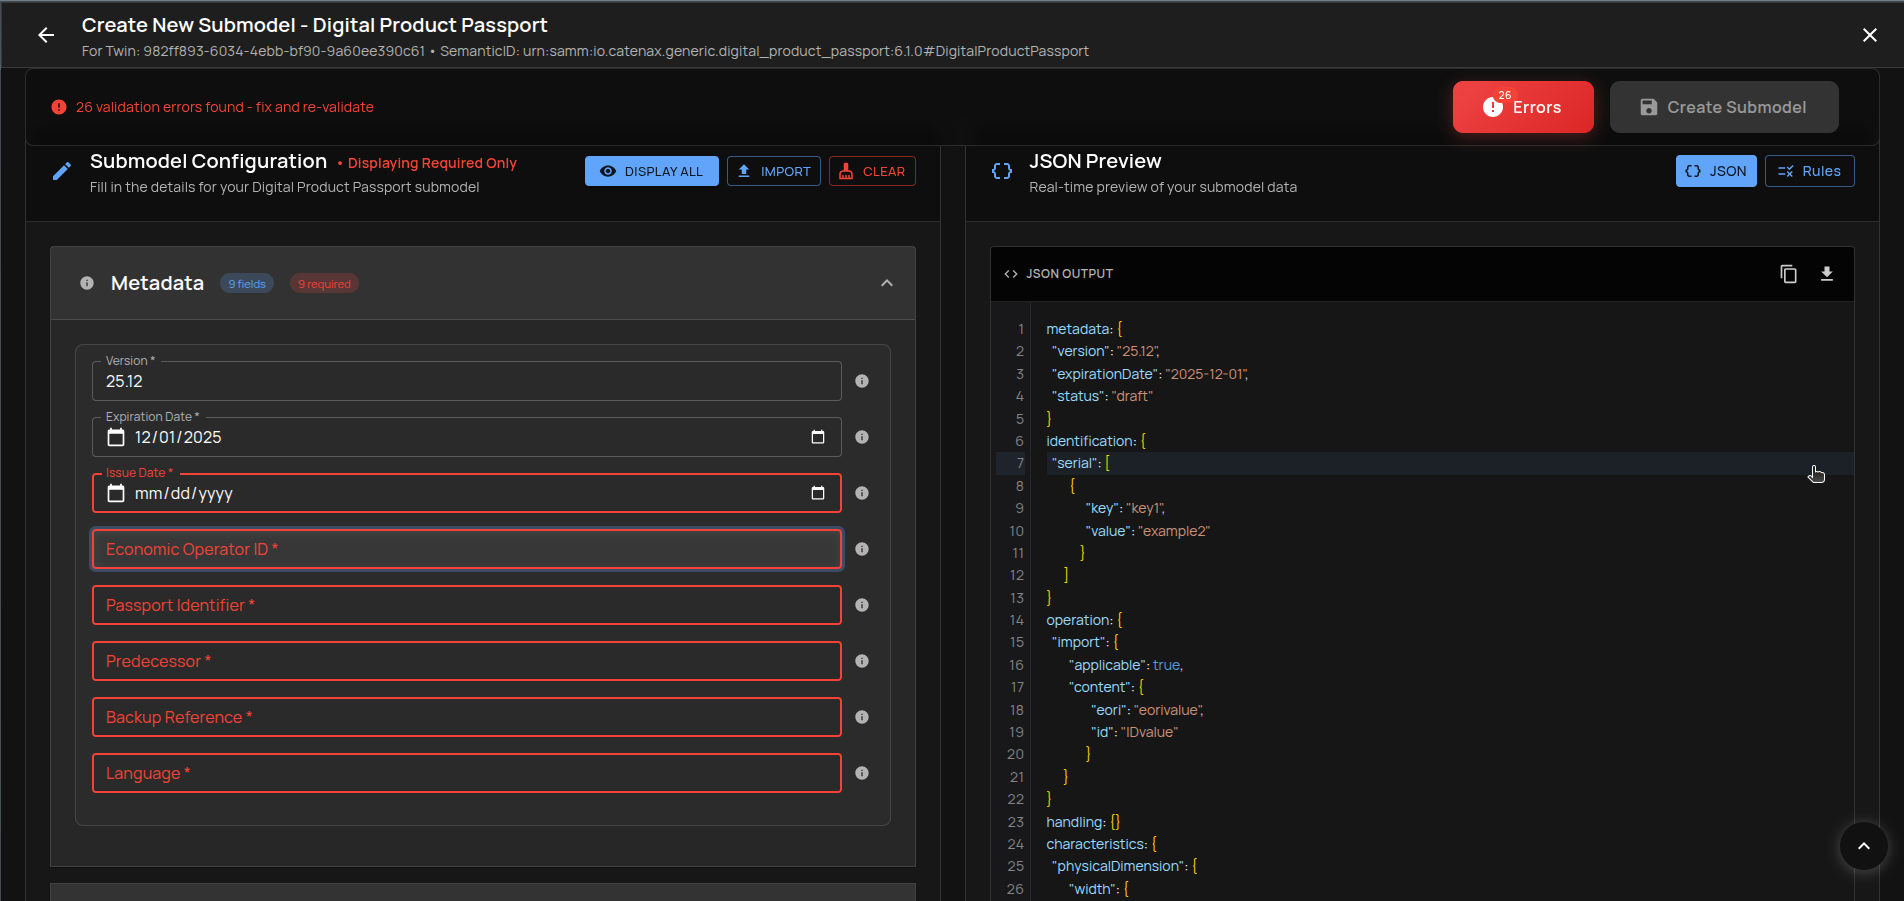
- Interactive JSON Preview: Click entries in the JSON preview to jump to the corresponding form field.
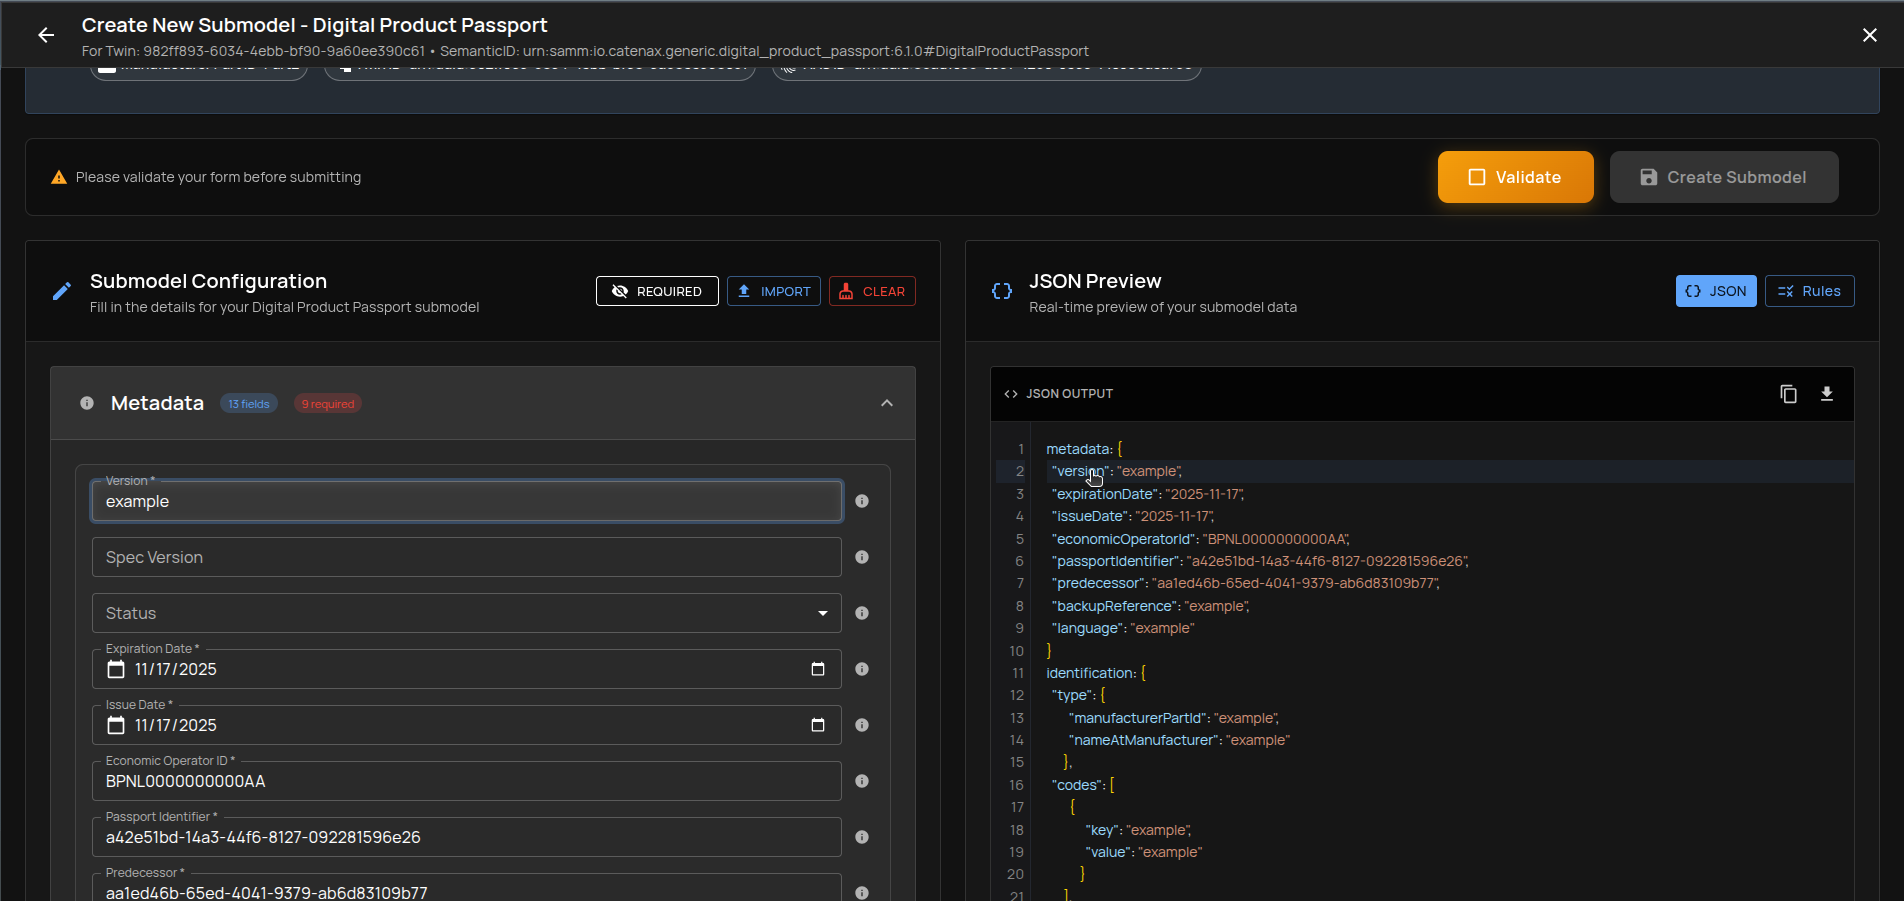
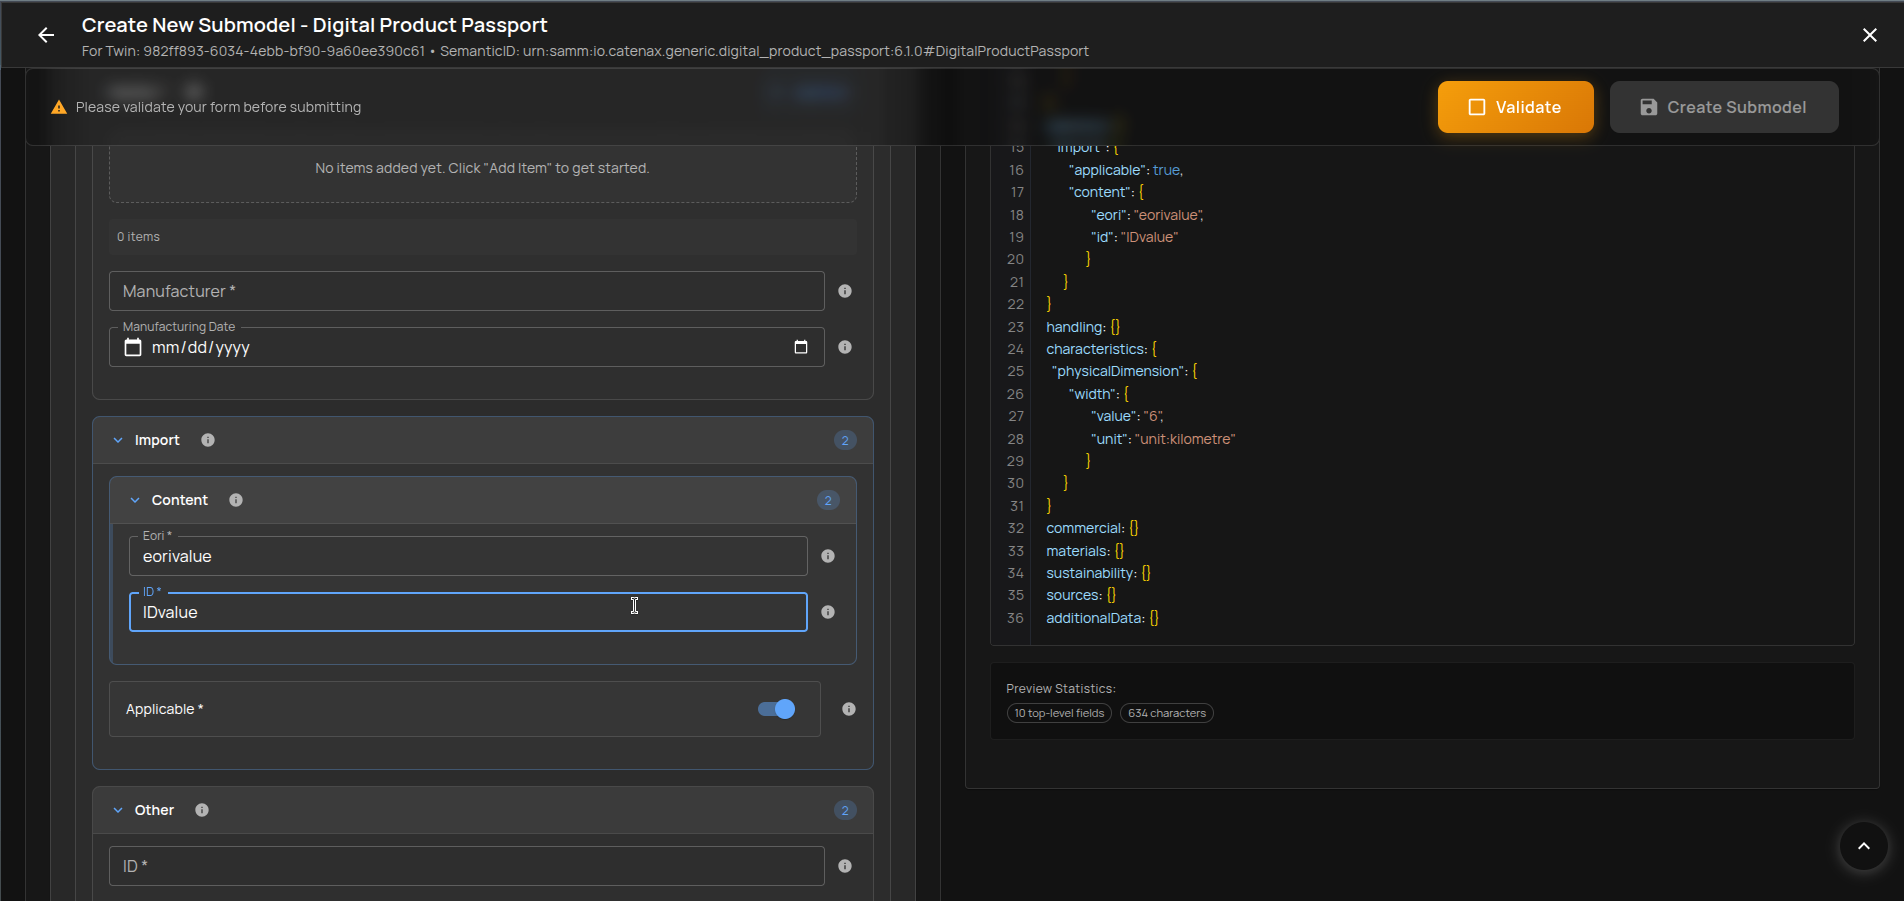
Fill the JSON
You can define the submodel content using the dynamic form. The form is built from the schema (e.g., DPP) and organizes sections and fields.
Tip: Enable Only Required to speed up initial completion.
Option 1: Fill Manually
Supported field types and helpers:
- Standard values:
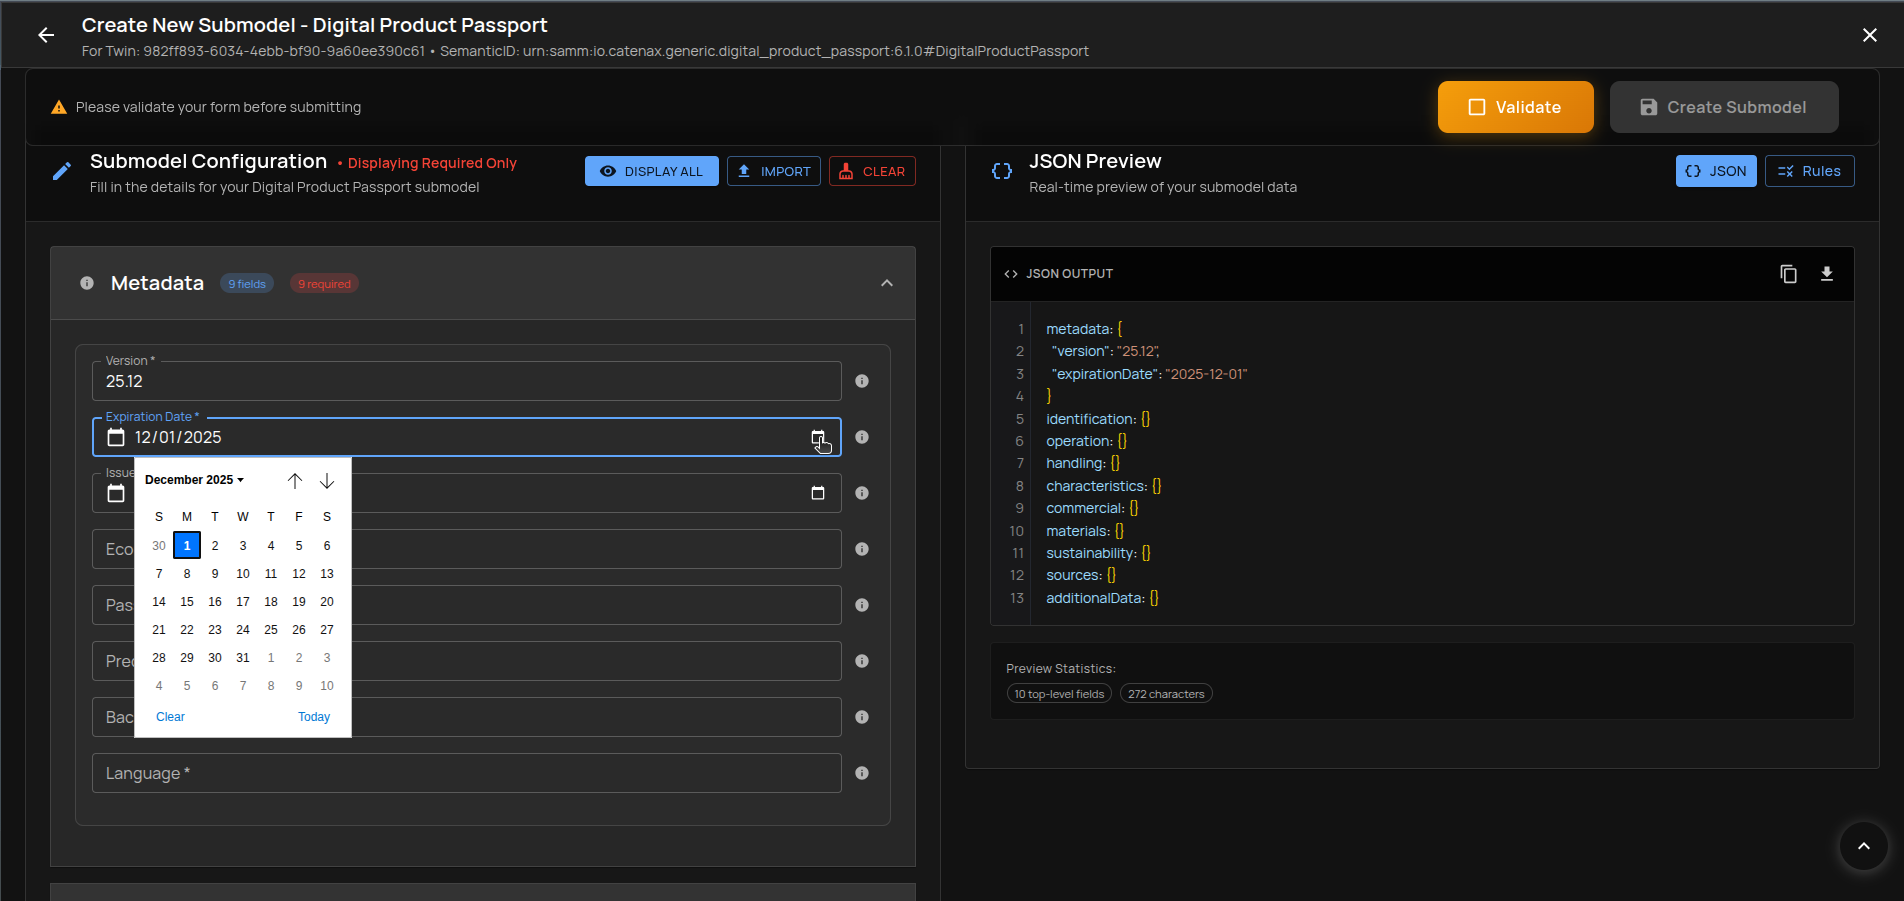
- Date values:
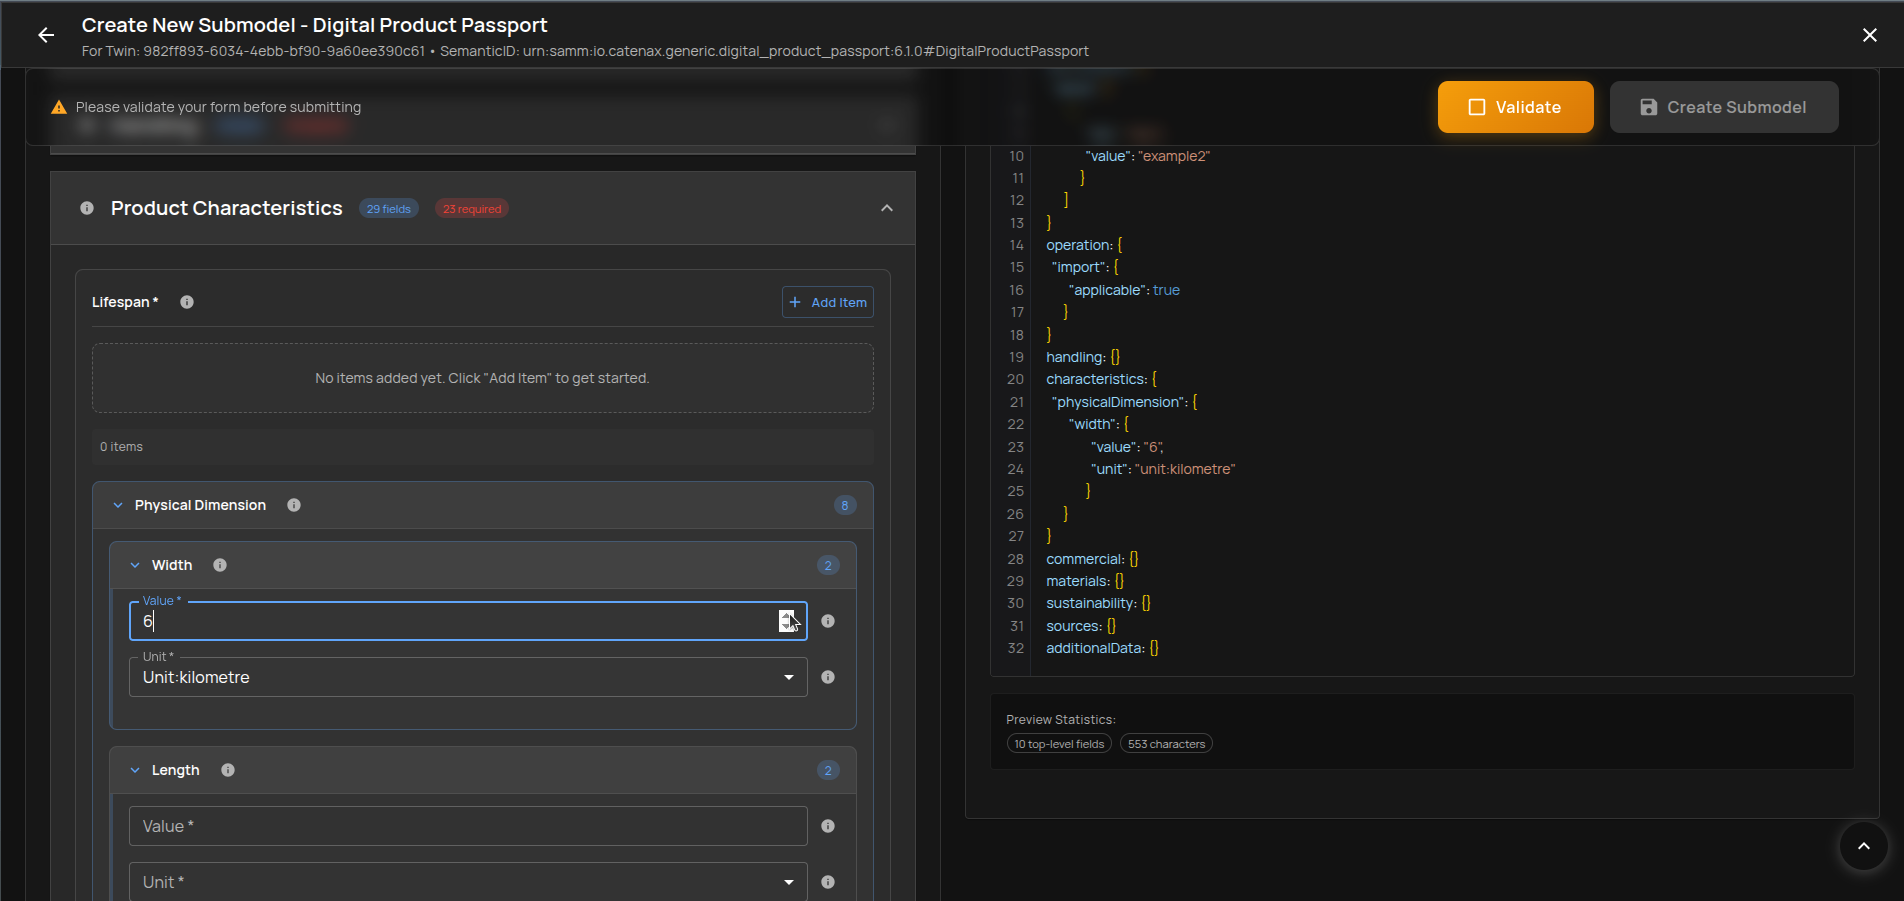
- Predefined values:
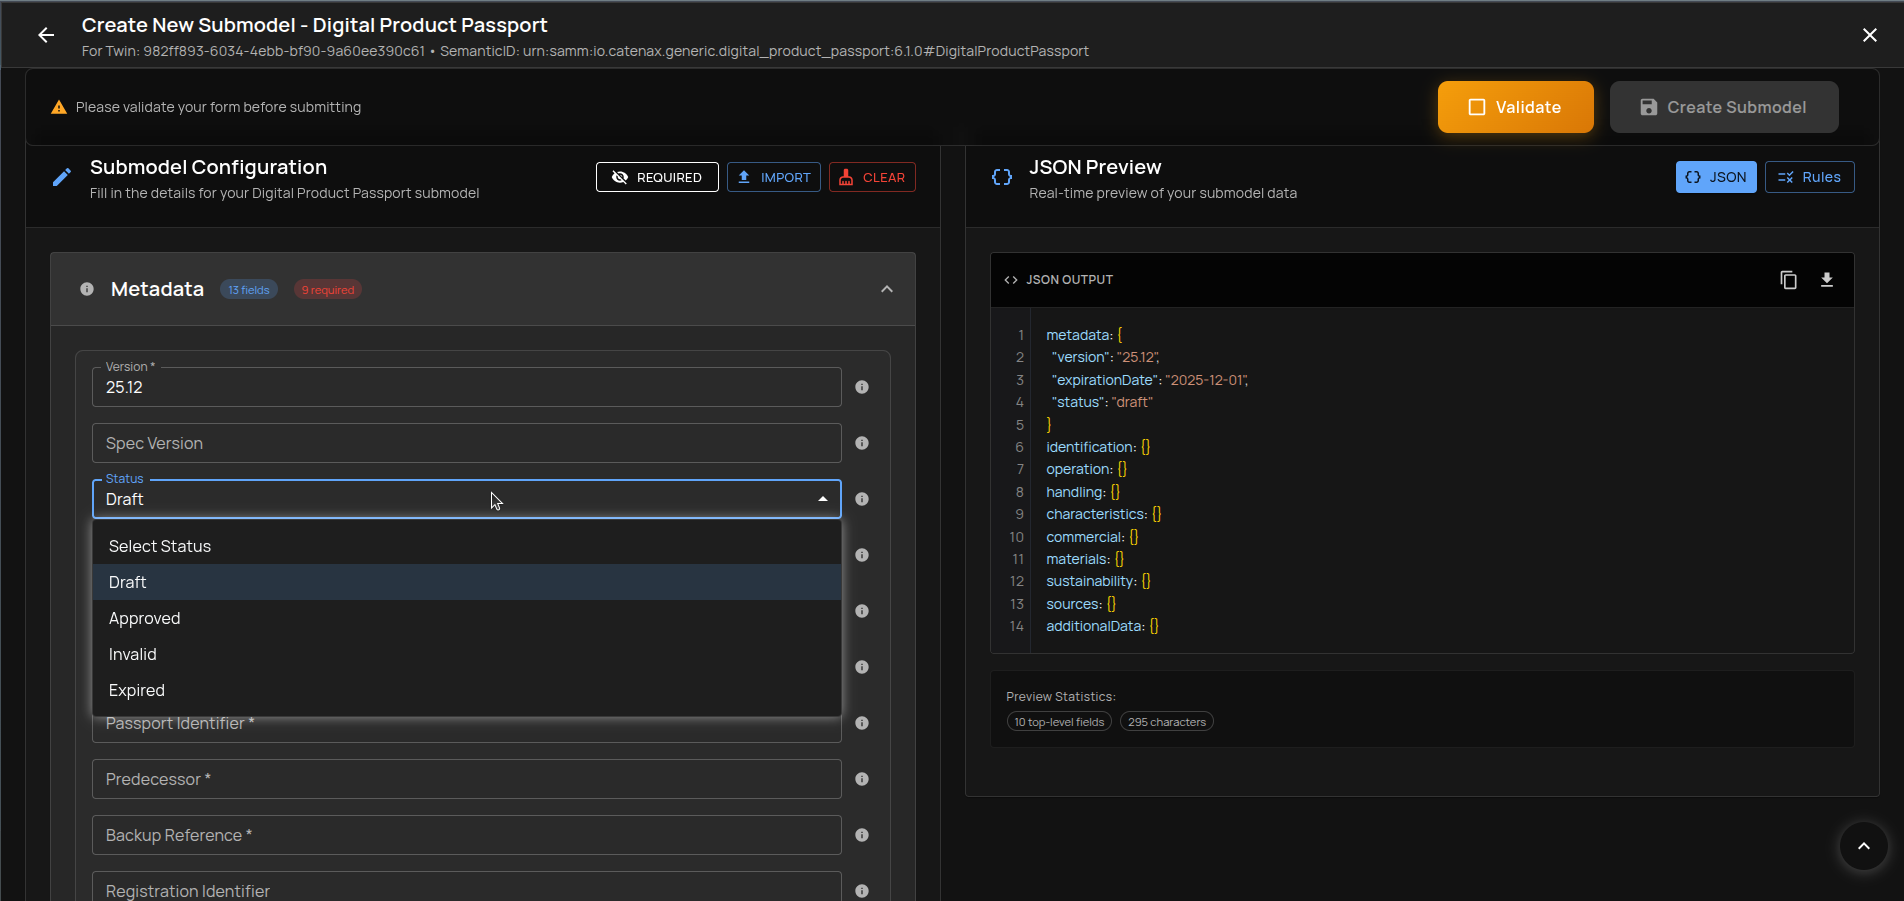
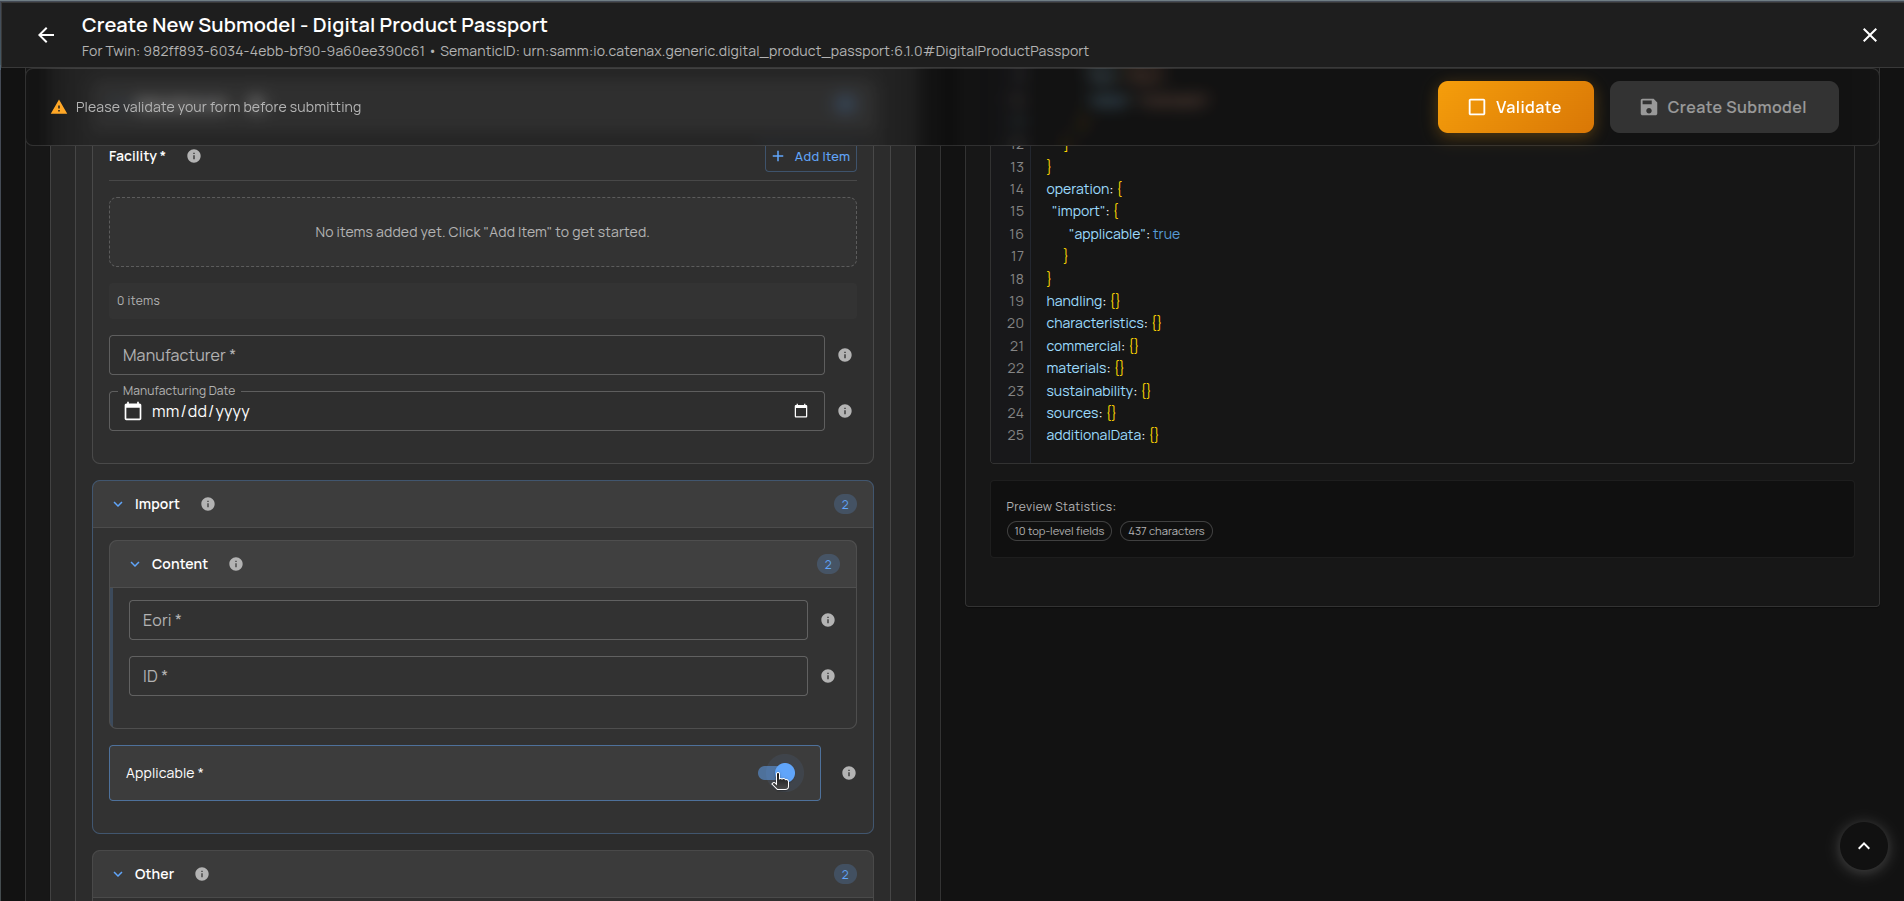
- Boolean values:
- Numeric values:
- Arrays:
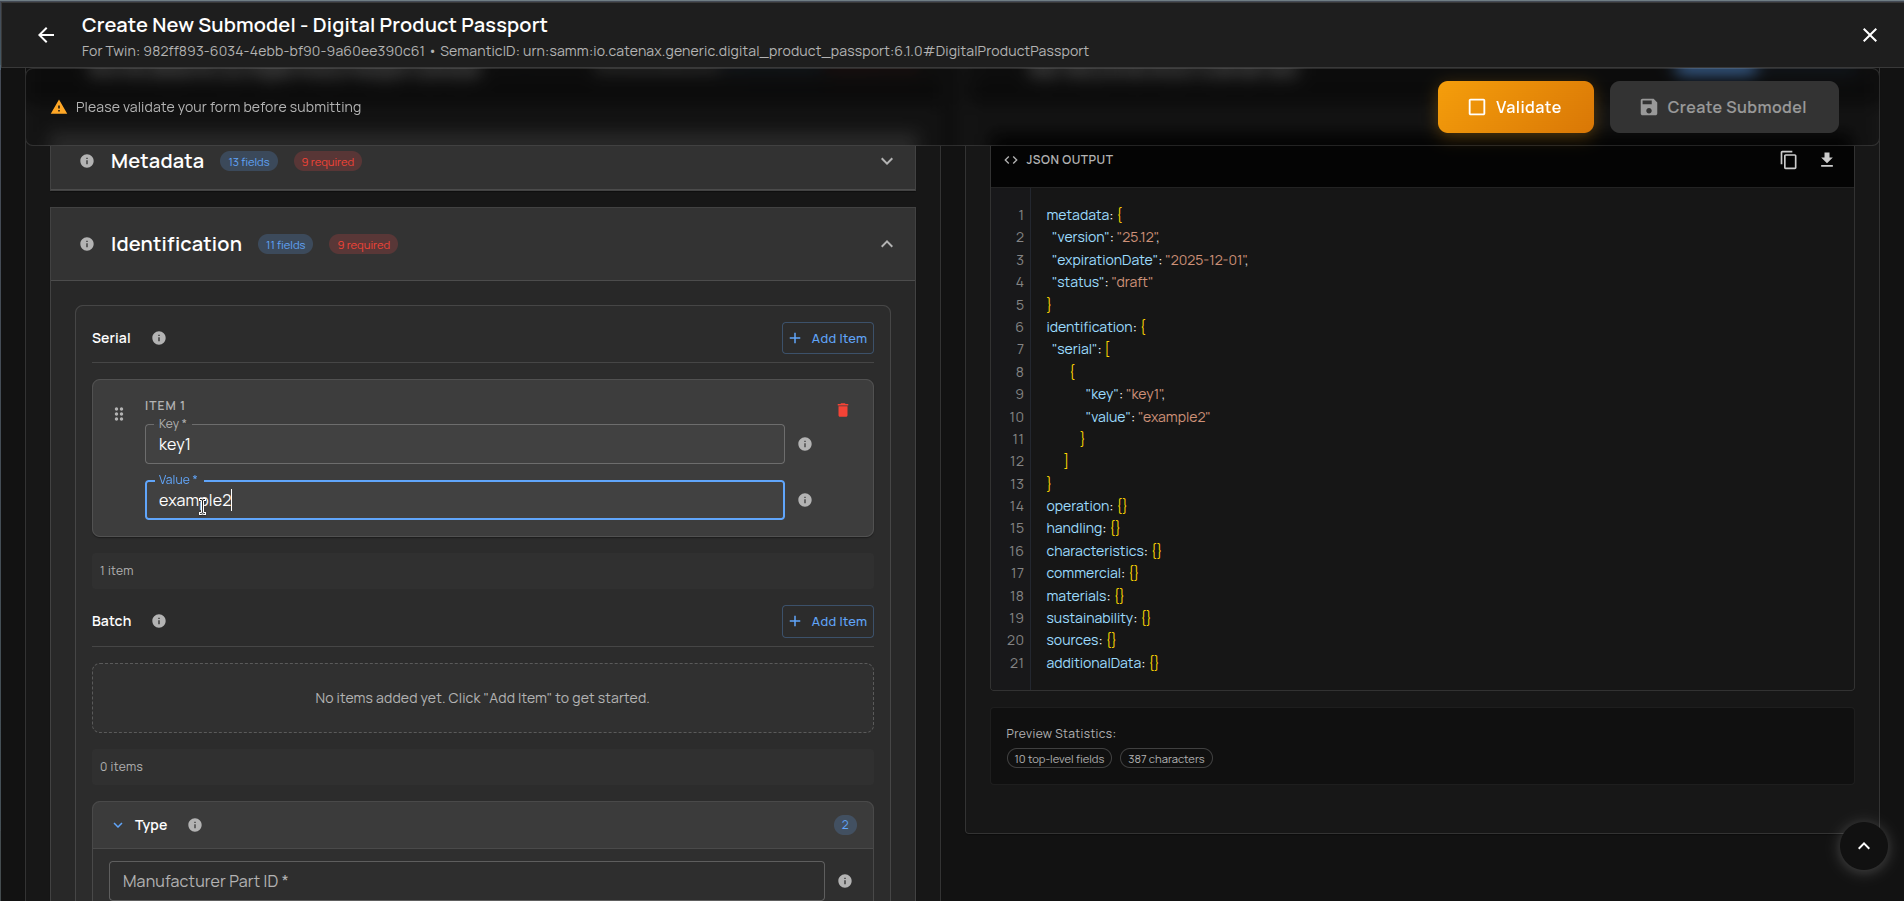
- Nested structures:
Option 2: Import Existing JSON
Prefill the form by importing an existing JSON (paste or file). This is the fastest route if you have a valid payload.
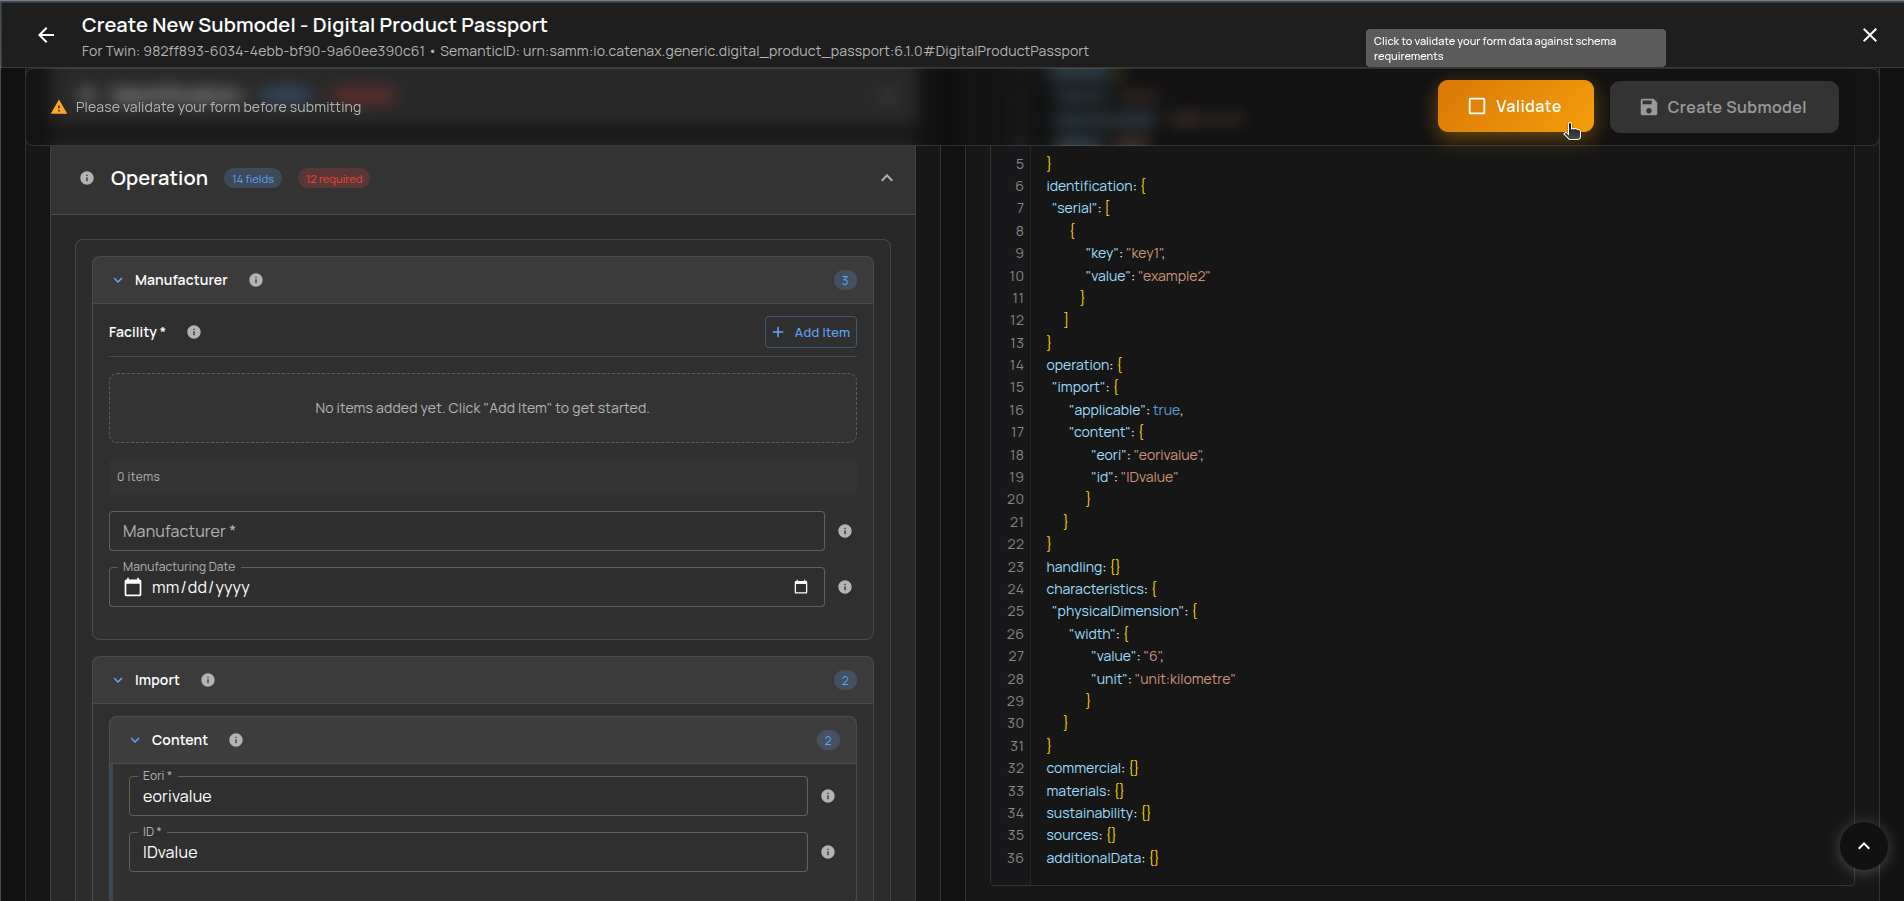
Validate the JSON
Click Validate in the floating status bar to check the payload against schema rules.
Two possible outcomes:
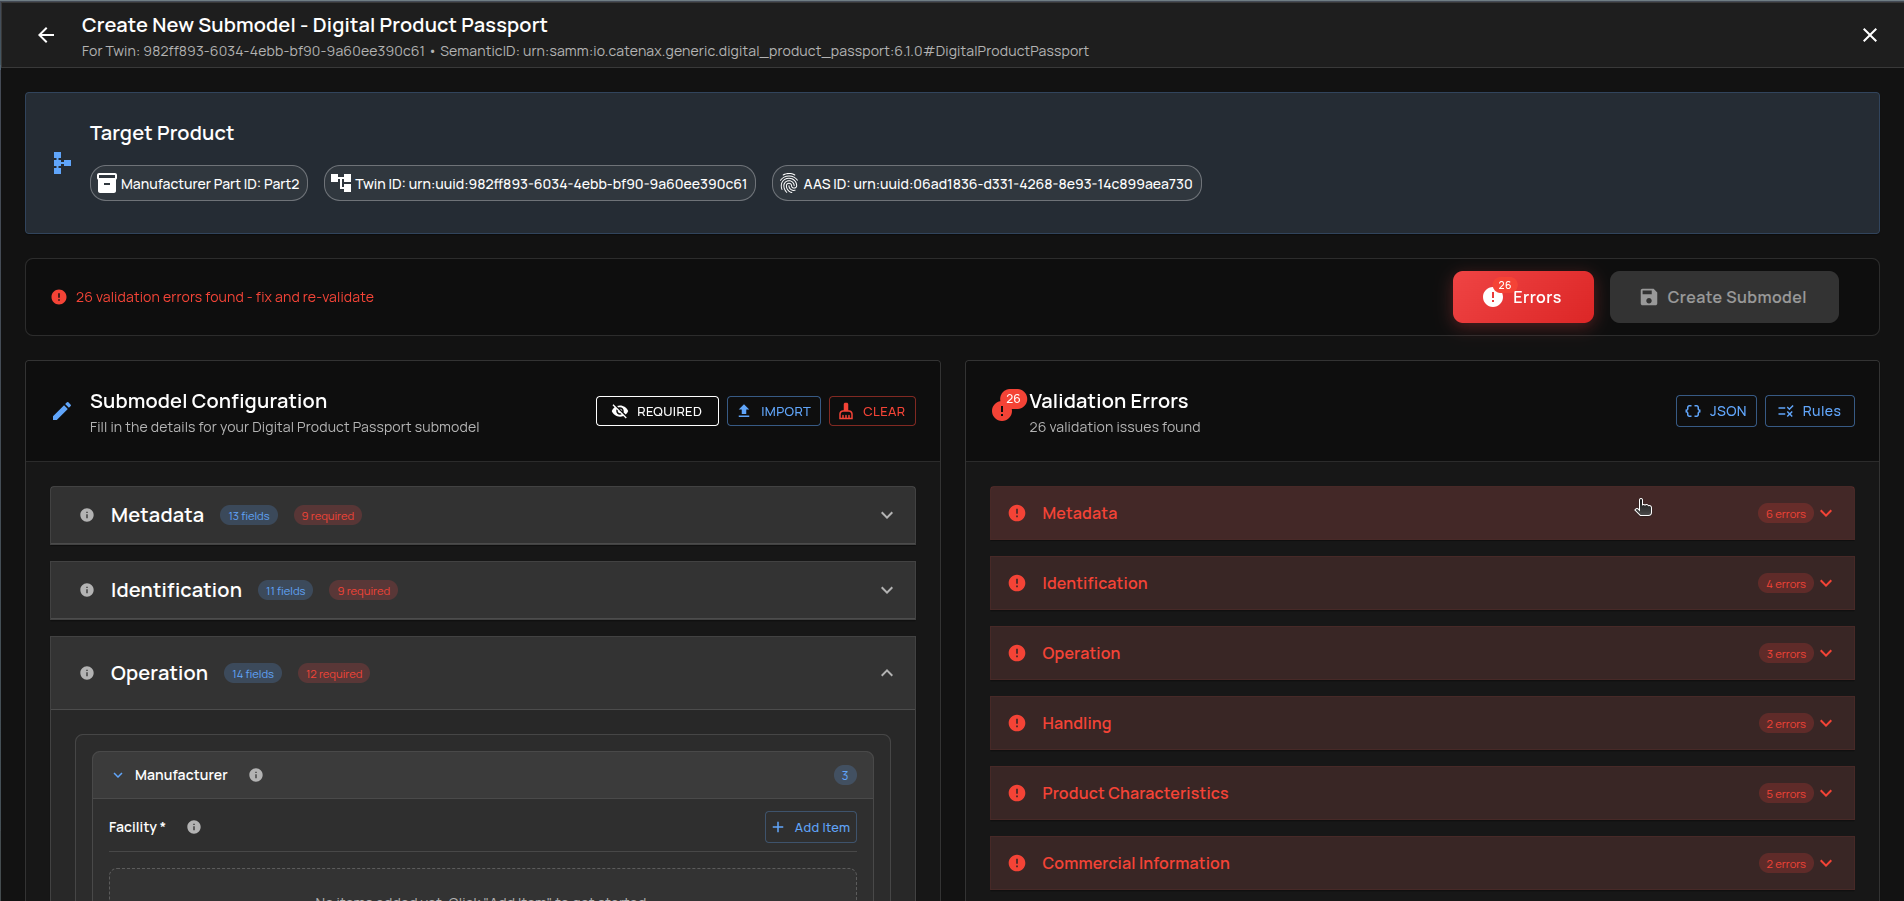
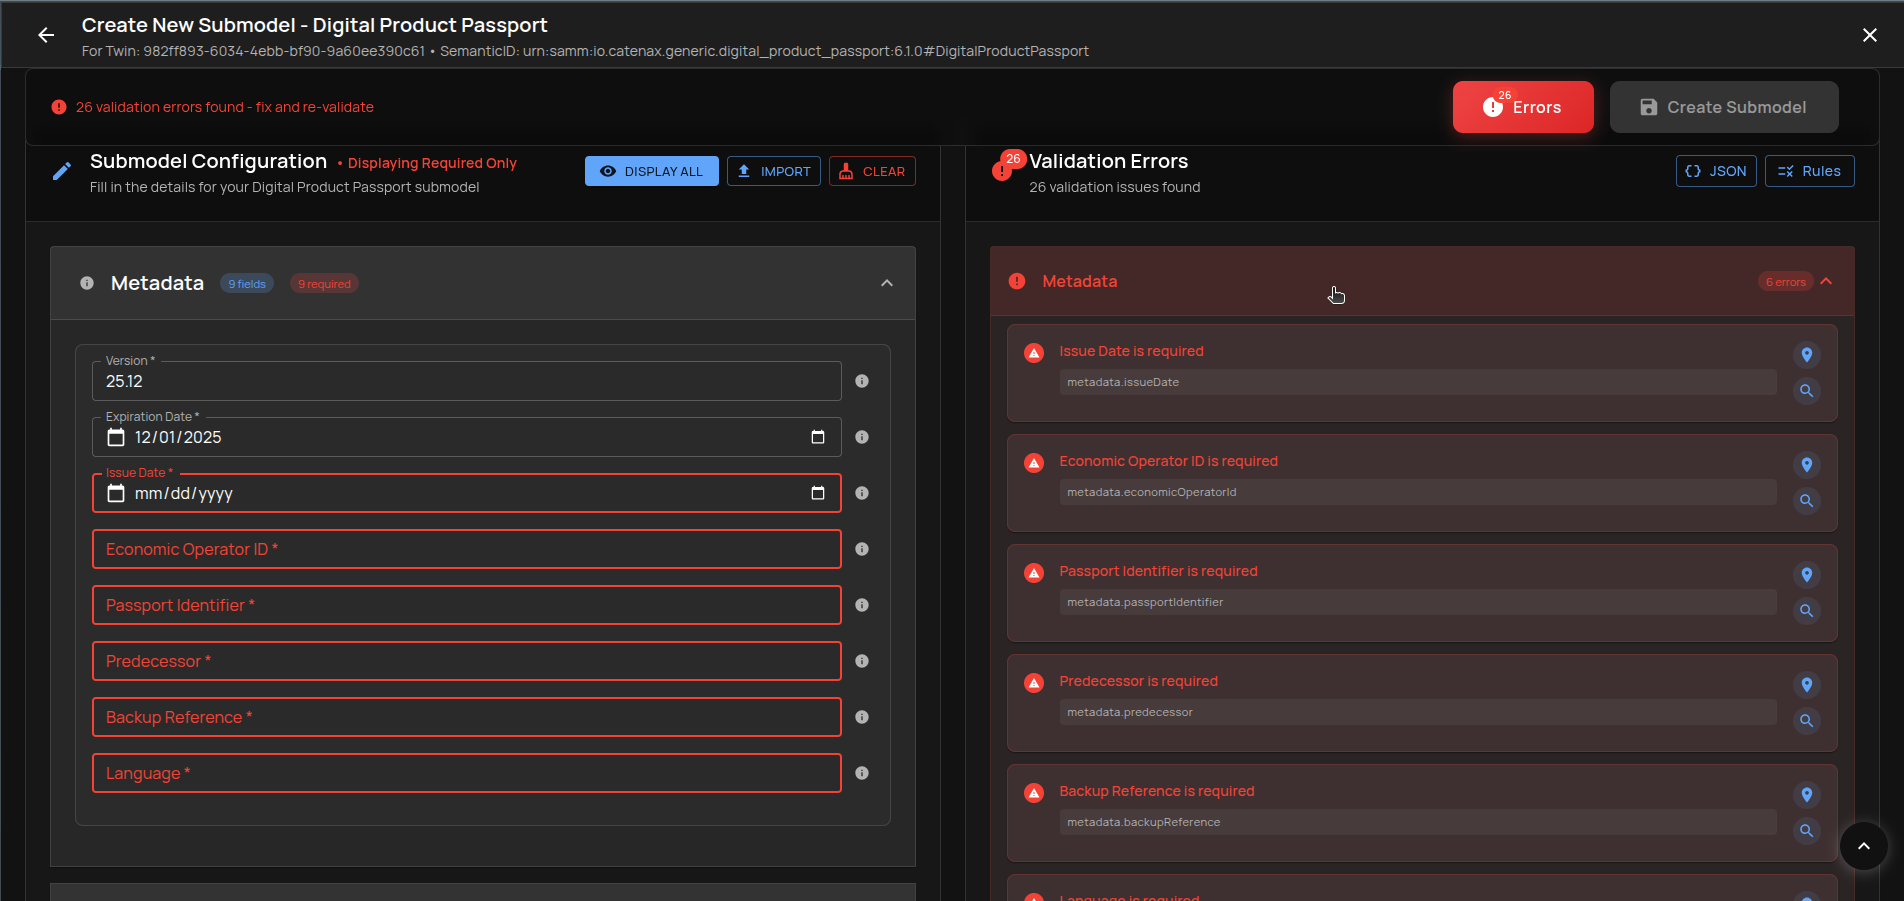
Case A: JSON Has Errors
The right panel shows grouped validation errors.
- Return to JSON: Click the
JSONtab or change any form value.
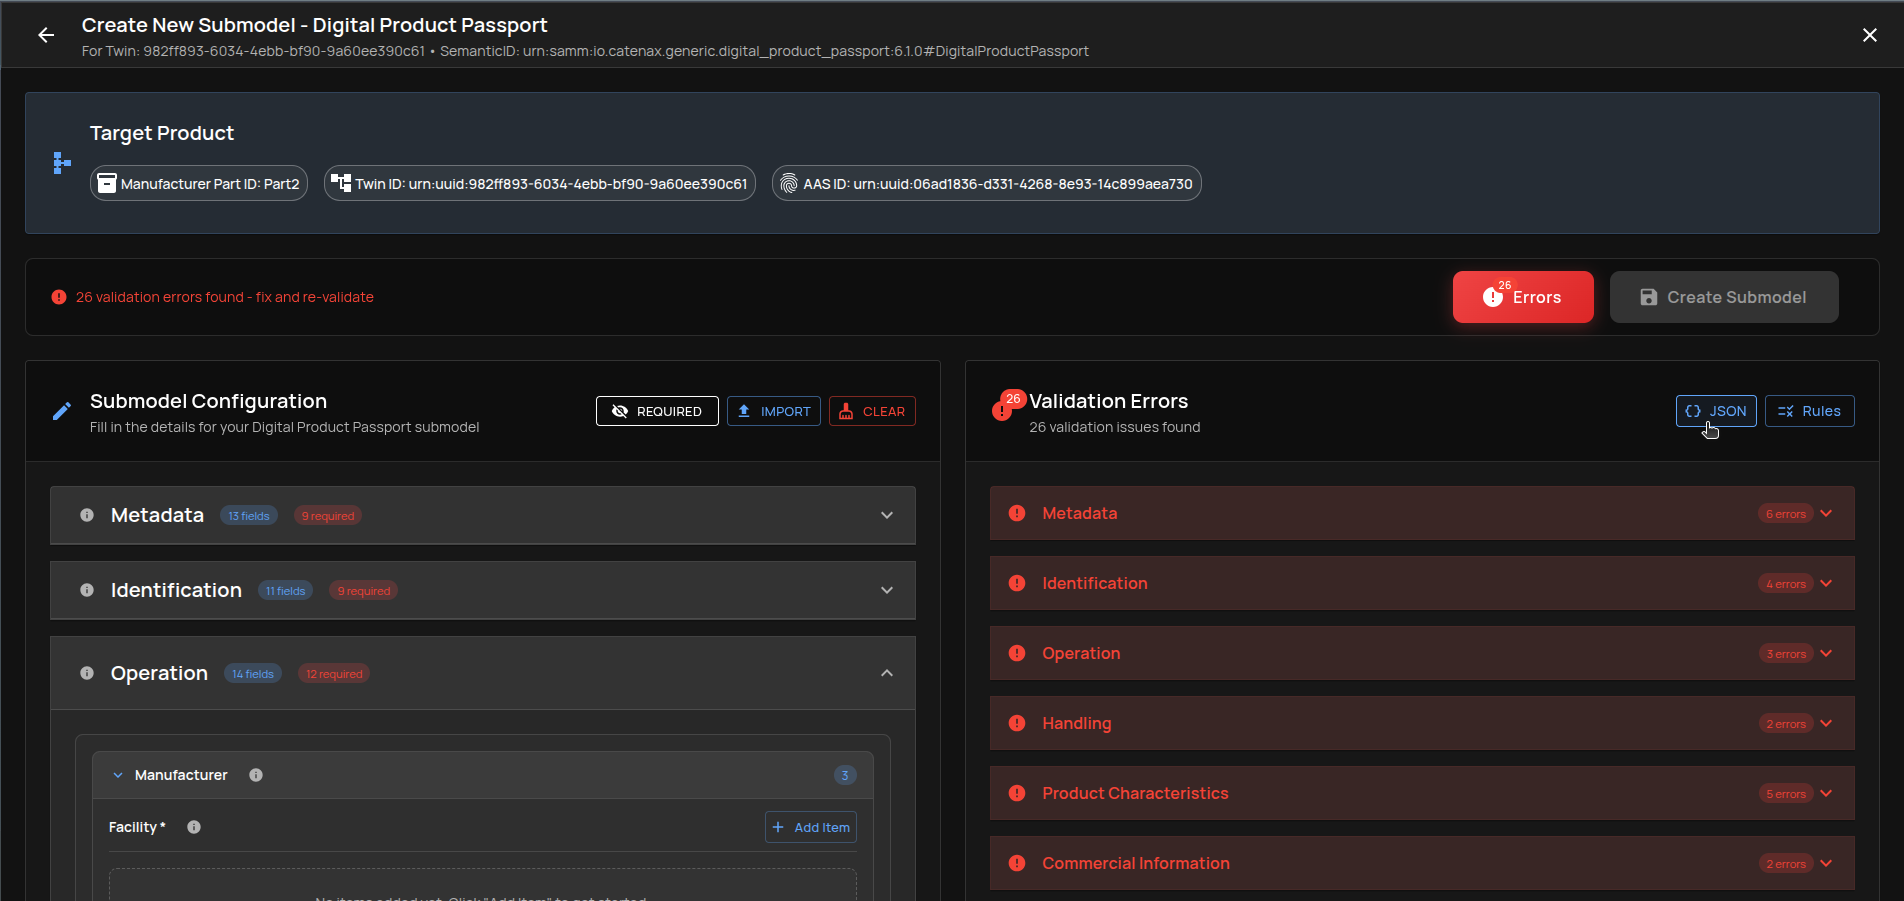
- Expand an error group: Click a group to see individual issues.
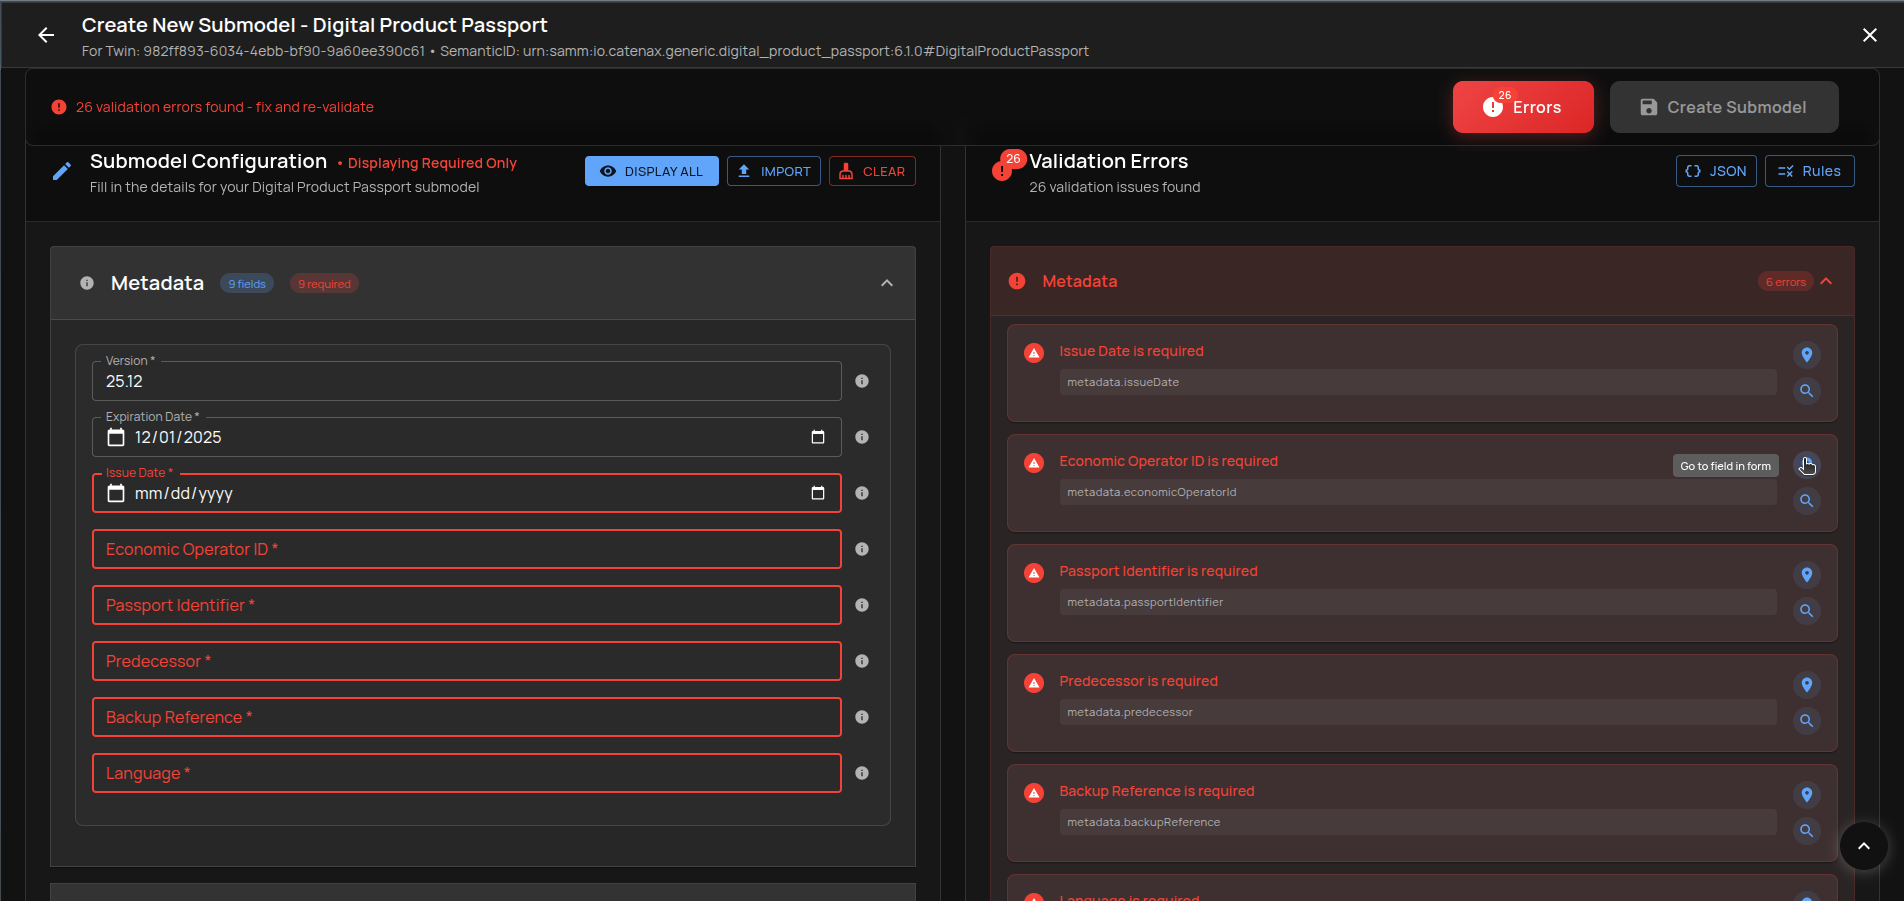
- Go to field: Jumps to the related form control.
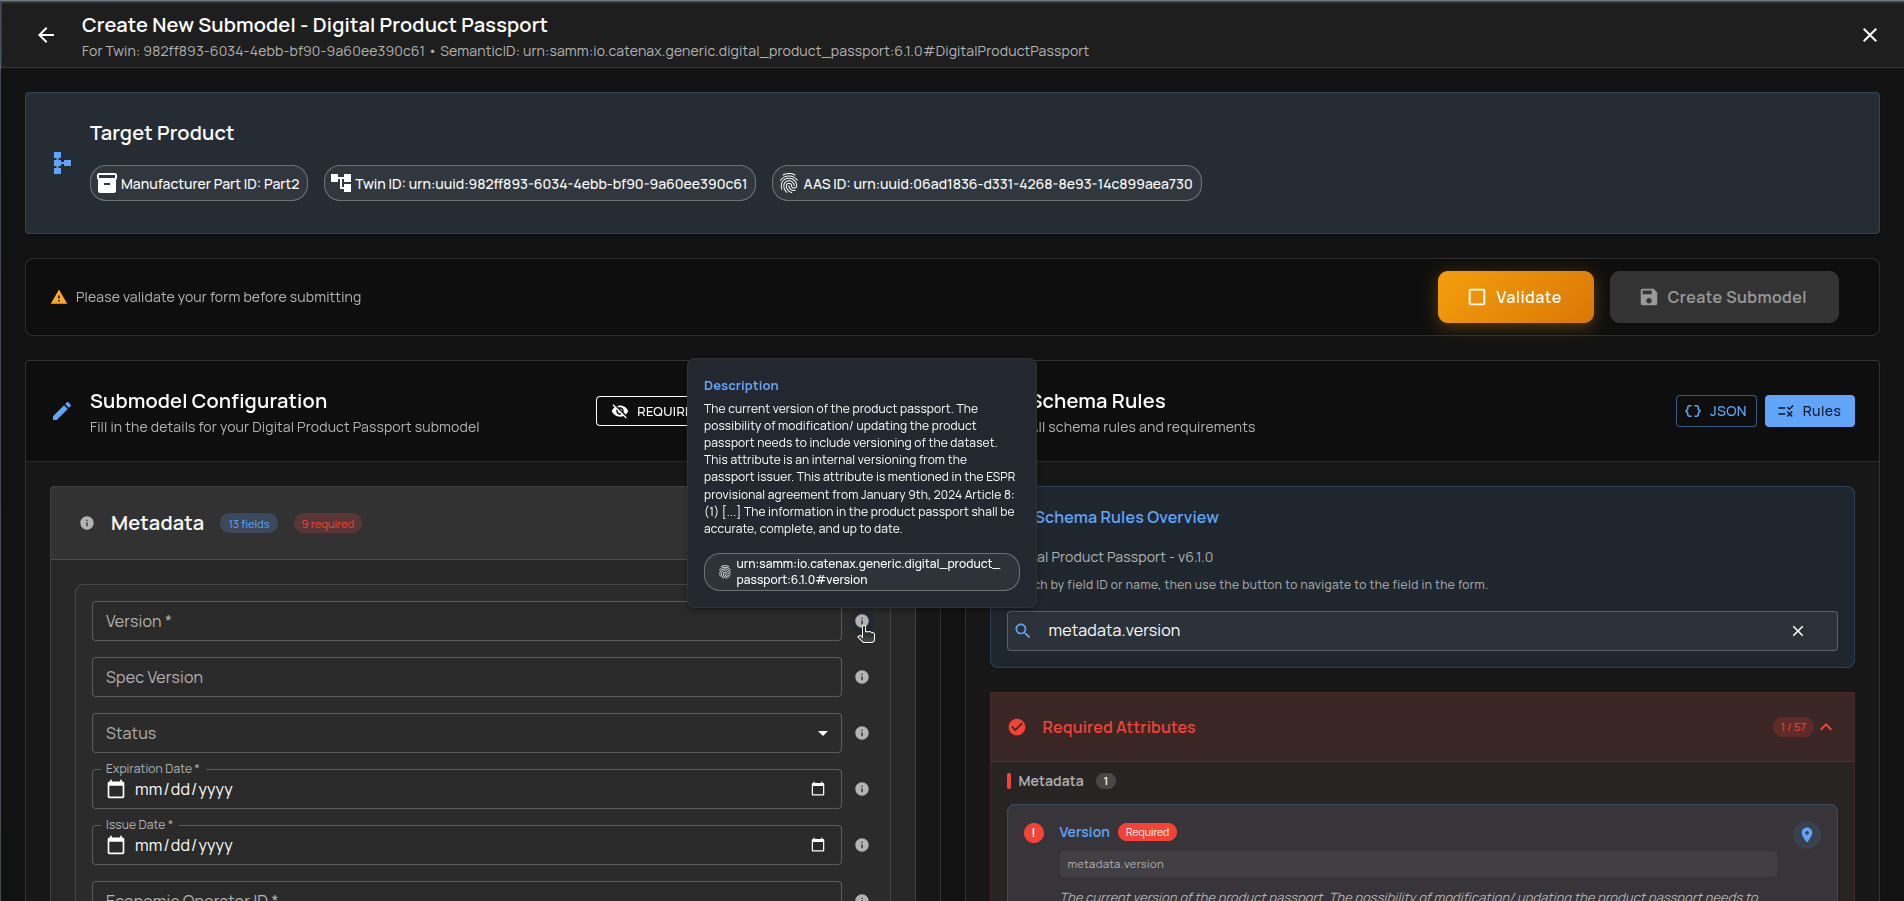
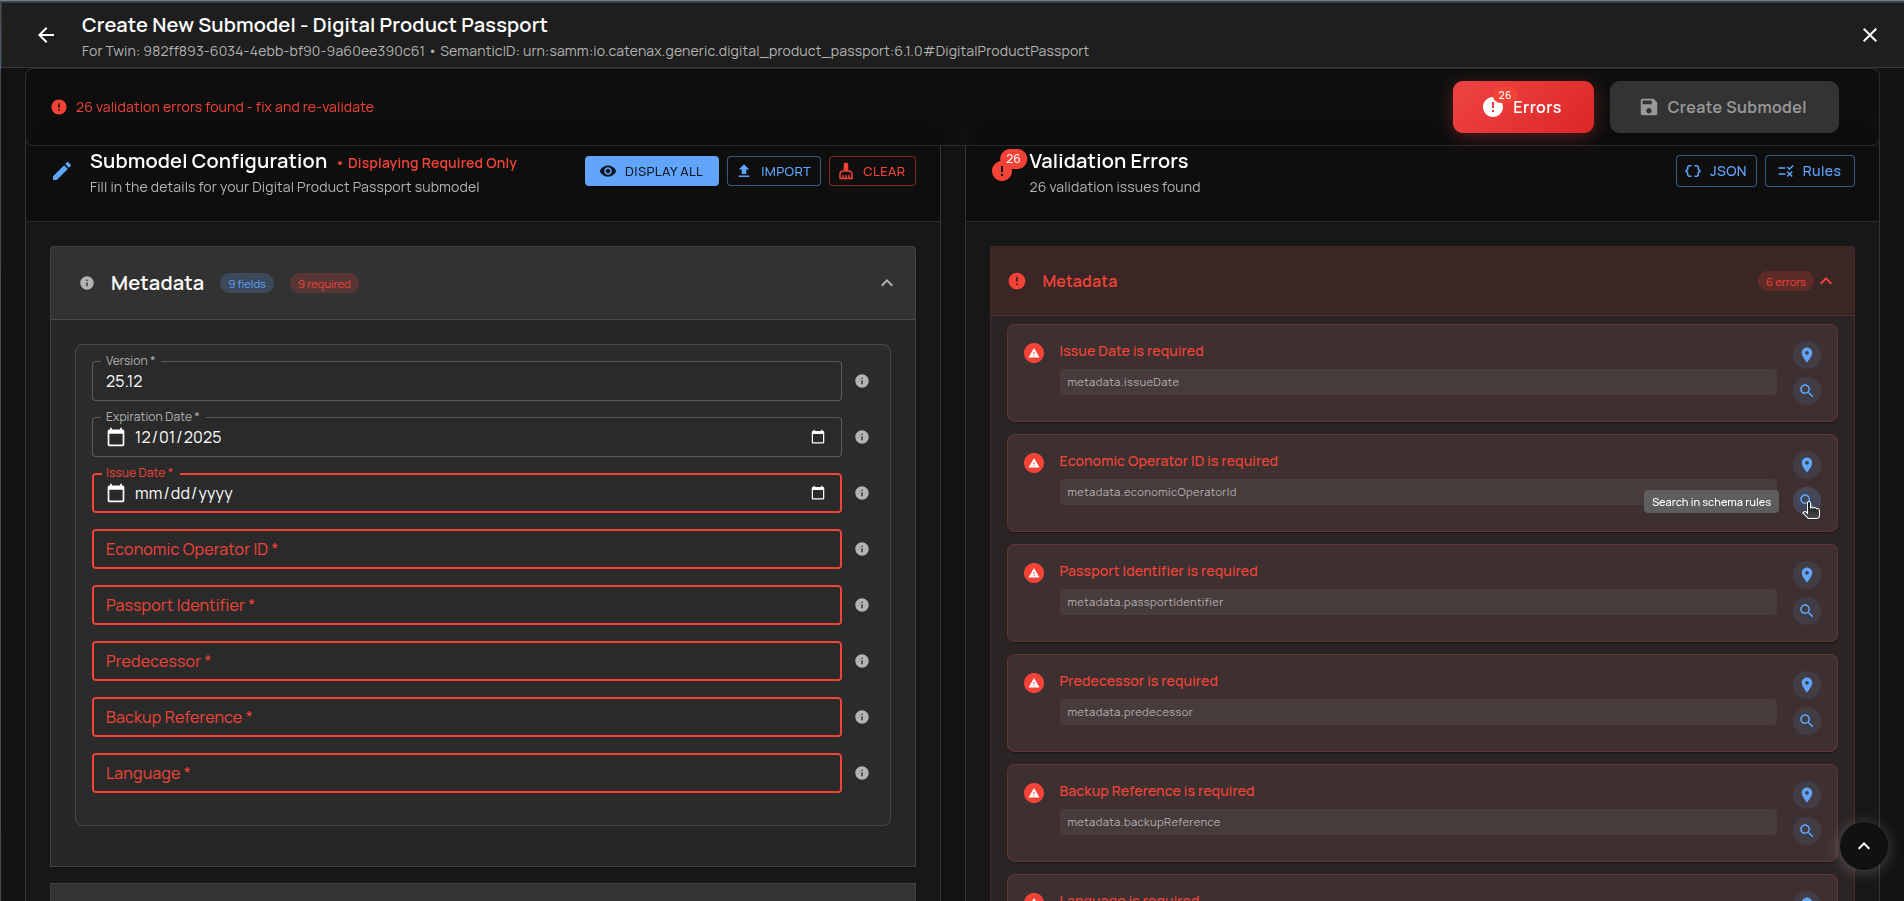
- Search in Schema Rules: Opens Schema Rules for the field and highlights applicable constraints.
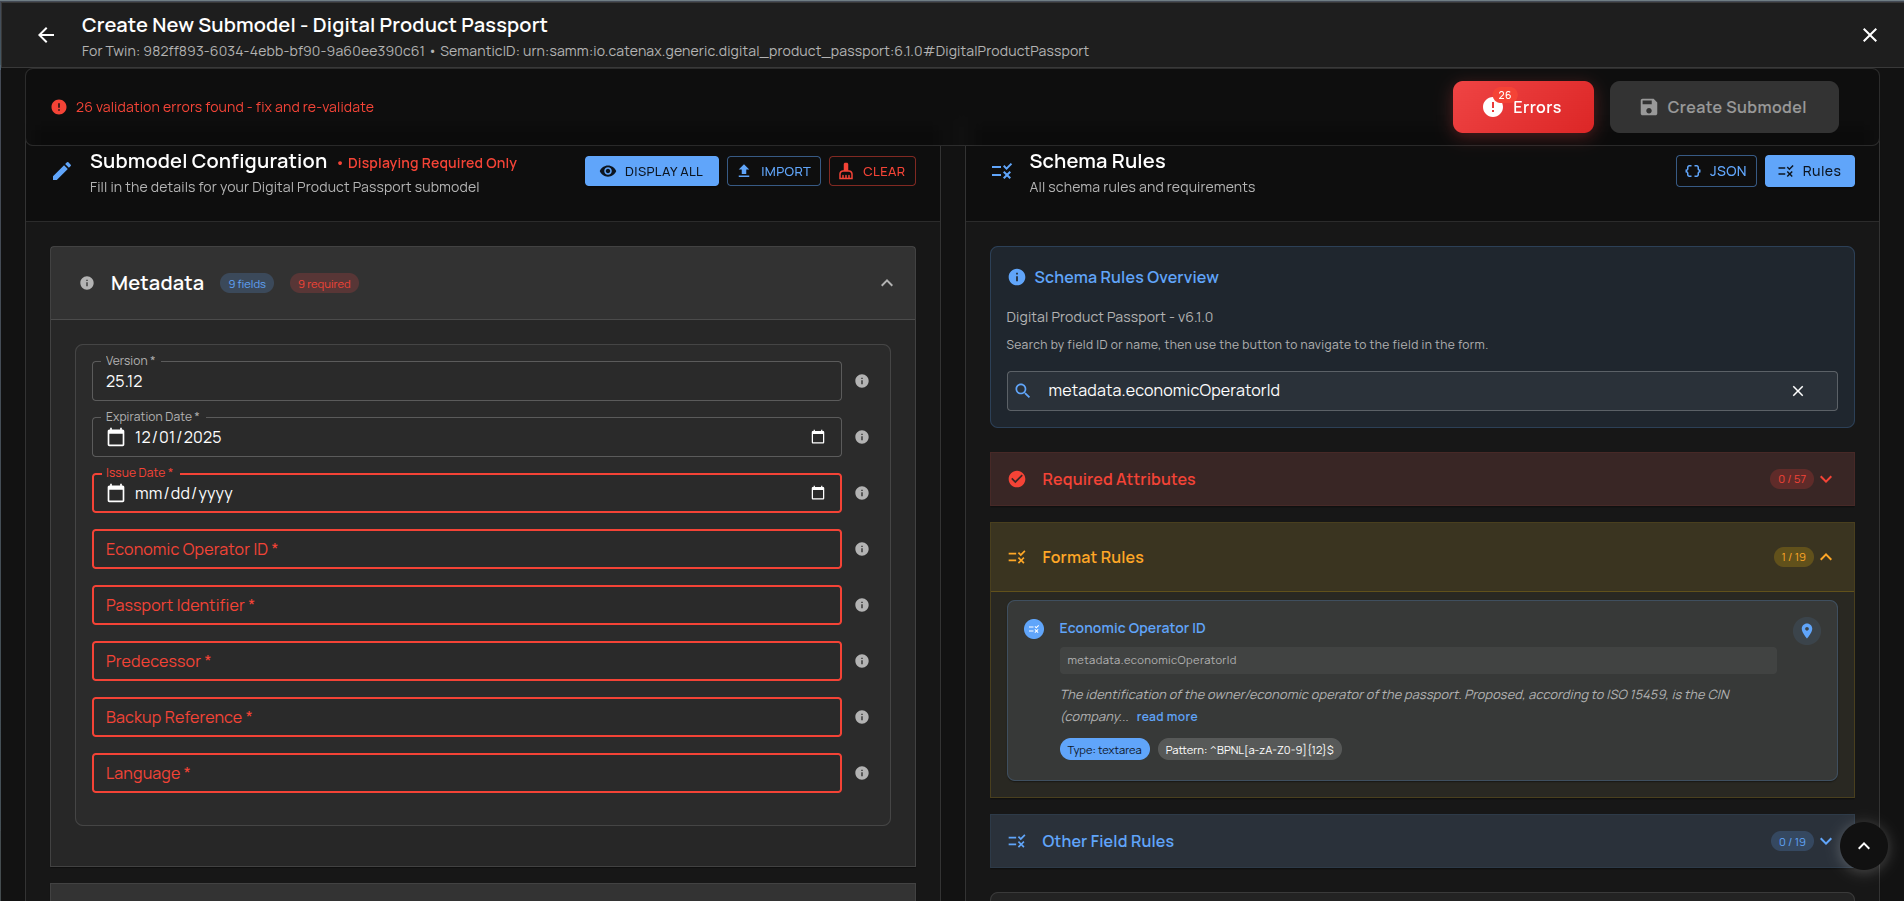
- Go to field from Rules: From a rule, jump back to the field to fix it.

Work through the listed errors until validation passes.
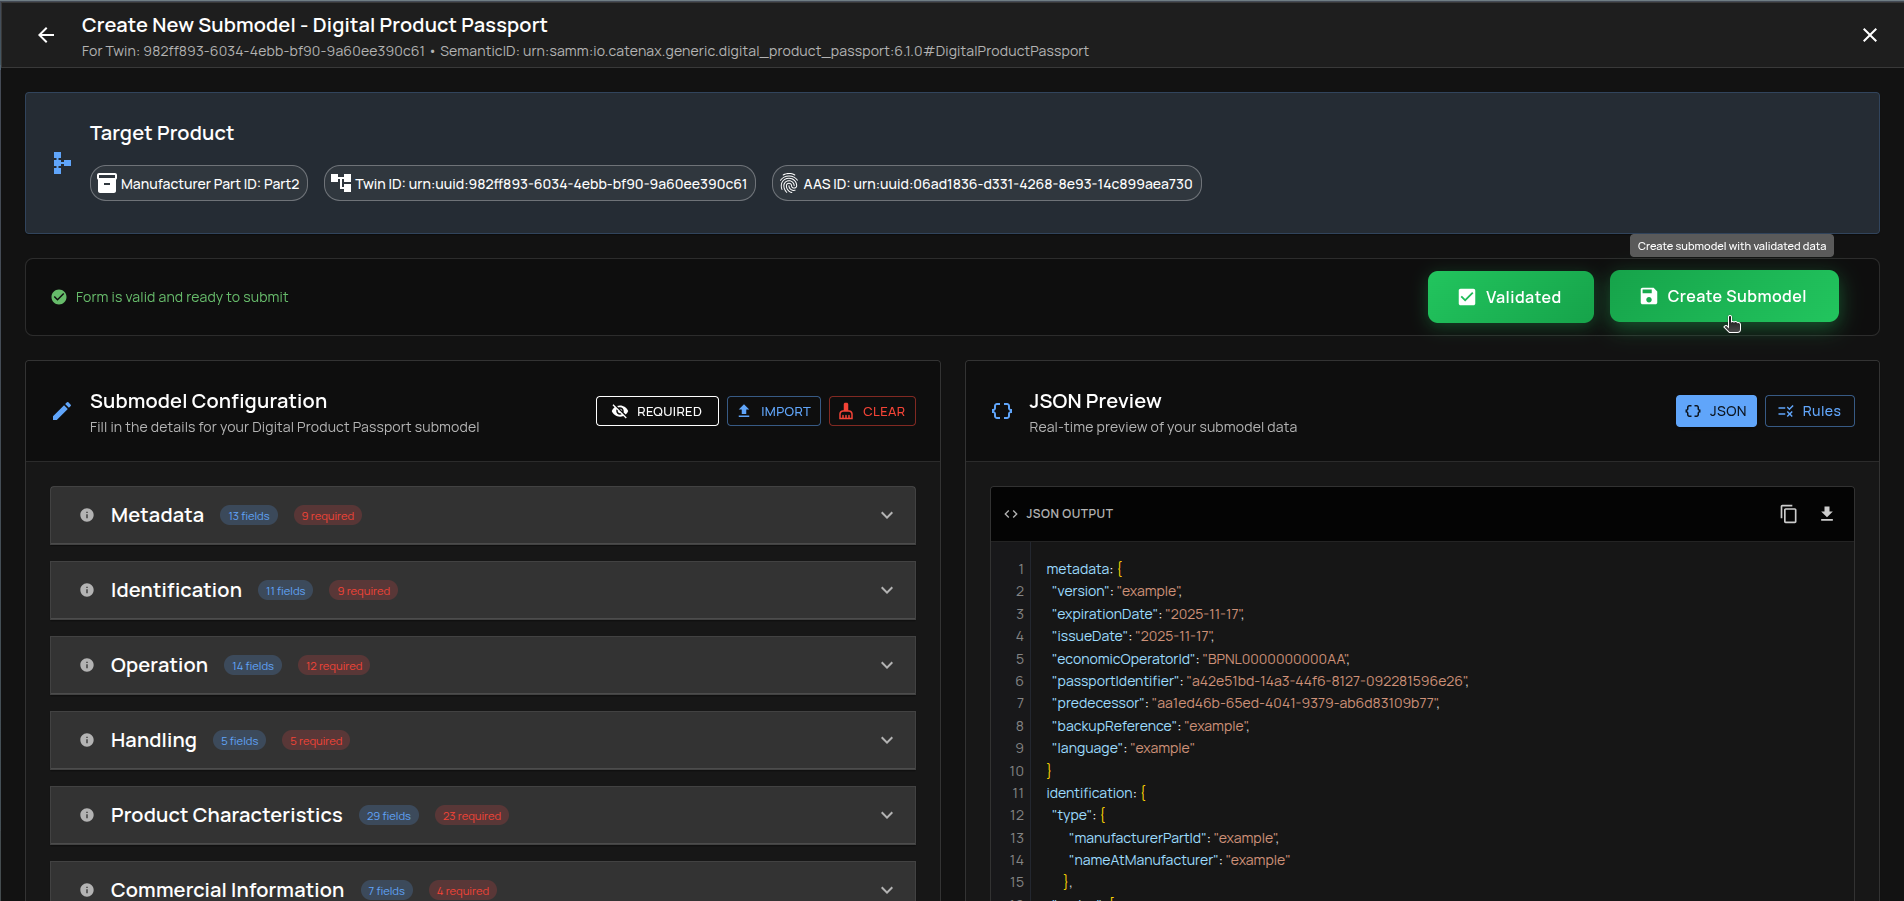
Case B: JSON Validated
When the JSON is valid, you’ll see a confirmation state.

The Create Submodel button becomes enabled.
Create the Submodel
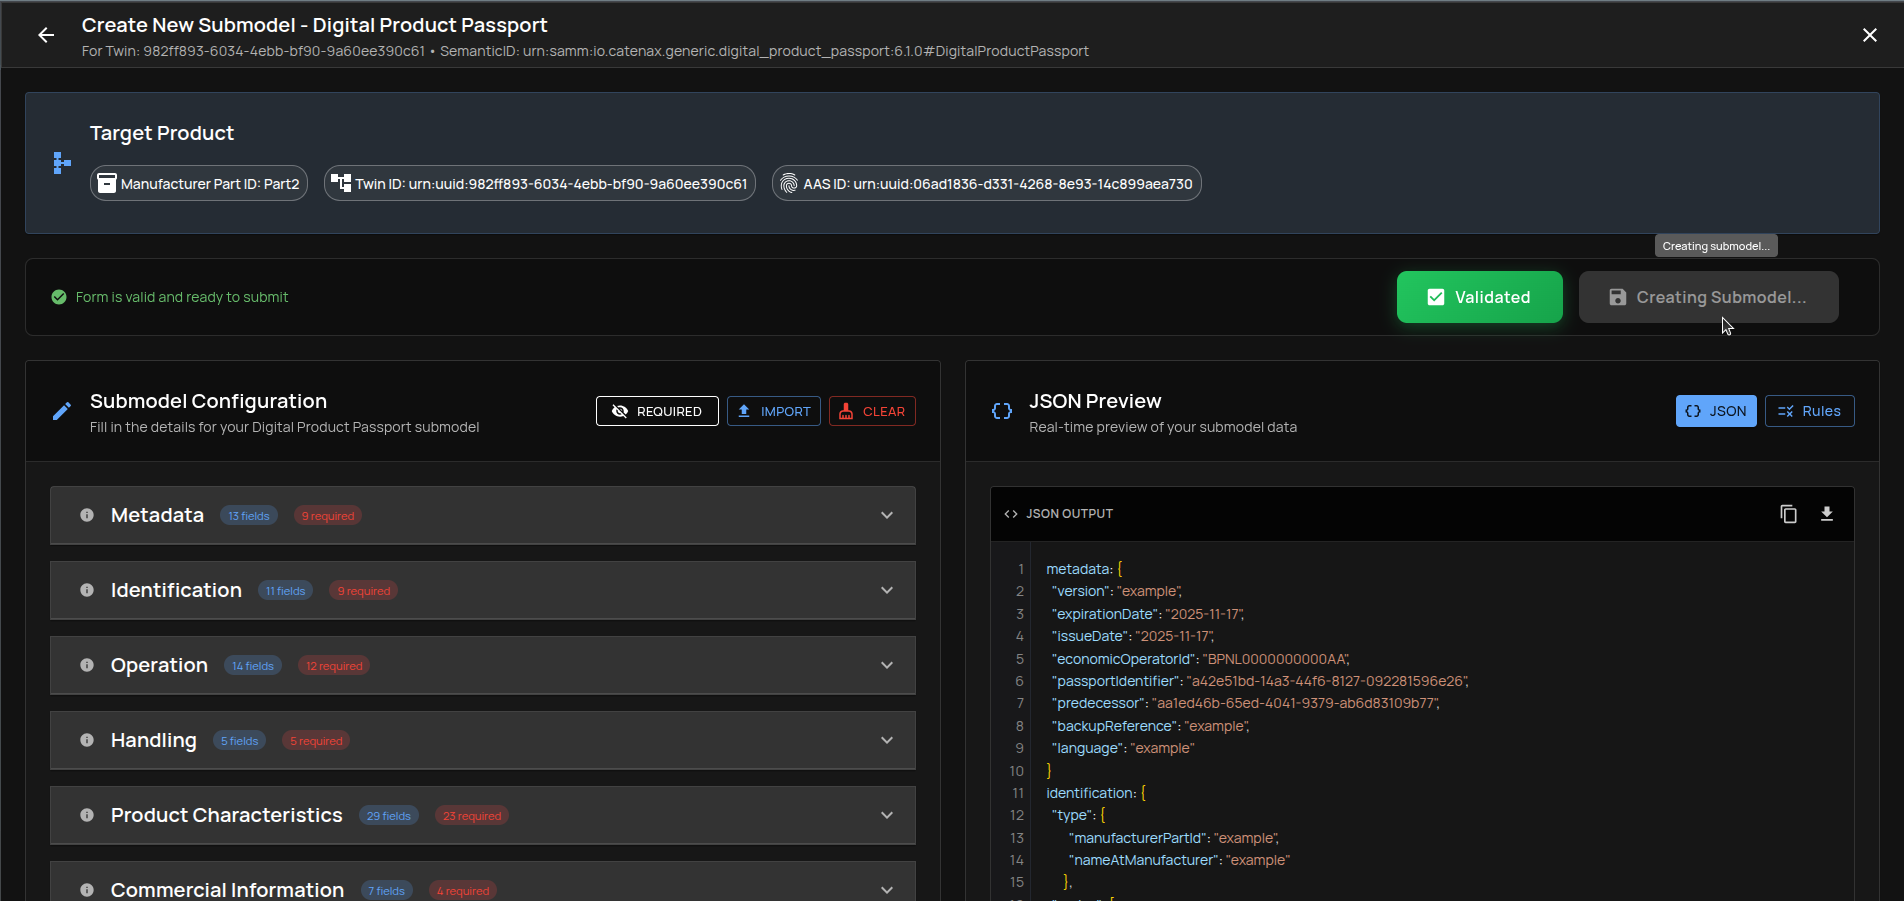
- Click
Create Submodel. - Wait for the creation to complete. A success notice confirms the submodel was created.
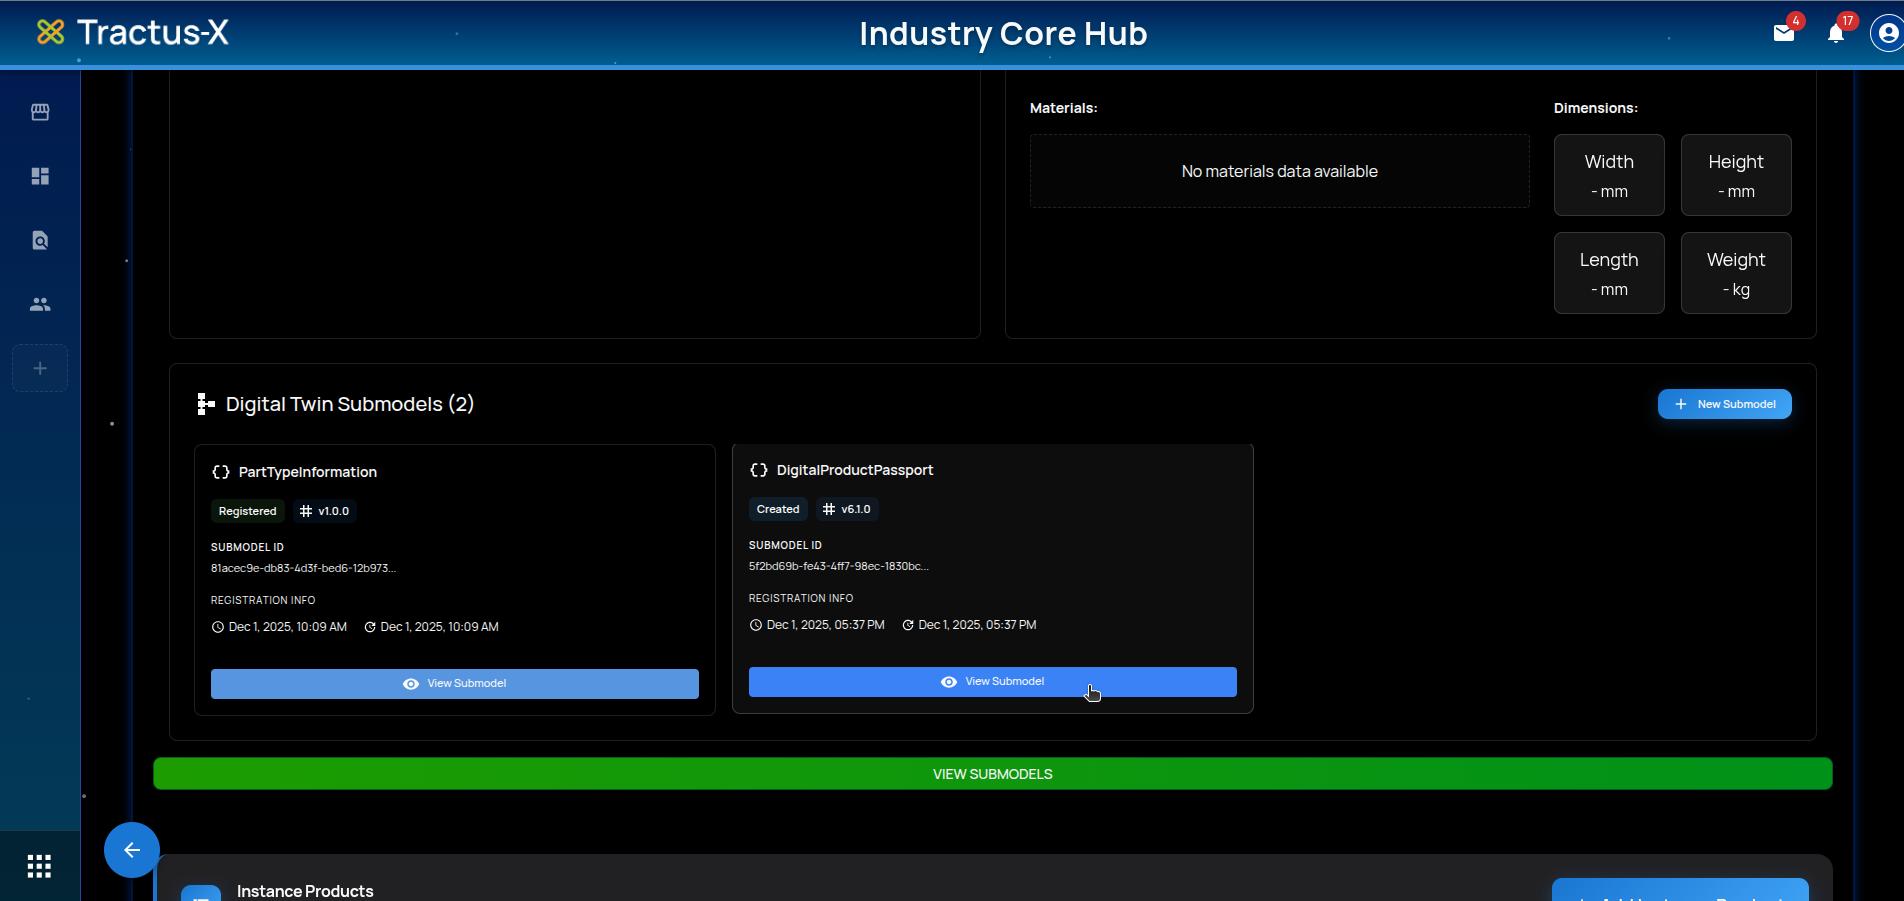
Verify in Catalog Part
Open the Catalog Part view and confirm the new DPP submodel appears.
Tips & Troubleshooting
- Validation fails repeatedly: Use
Only Requiredfilter, then incrementally add optional fields; check Schema Rules for each failing field. - Import issues: Ensure JSON is valid per schema; try paste mode to see immediate parsing feedback.
- Navigation aids: Use JSON Preview and field tooltips to understand structure and constraints quickly.
- Clearing form: Use
Clear Formto restart if the structure goes off-track.